https://python-requests.org/
Requests 库入门#
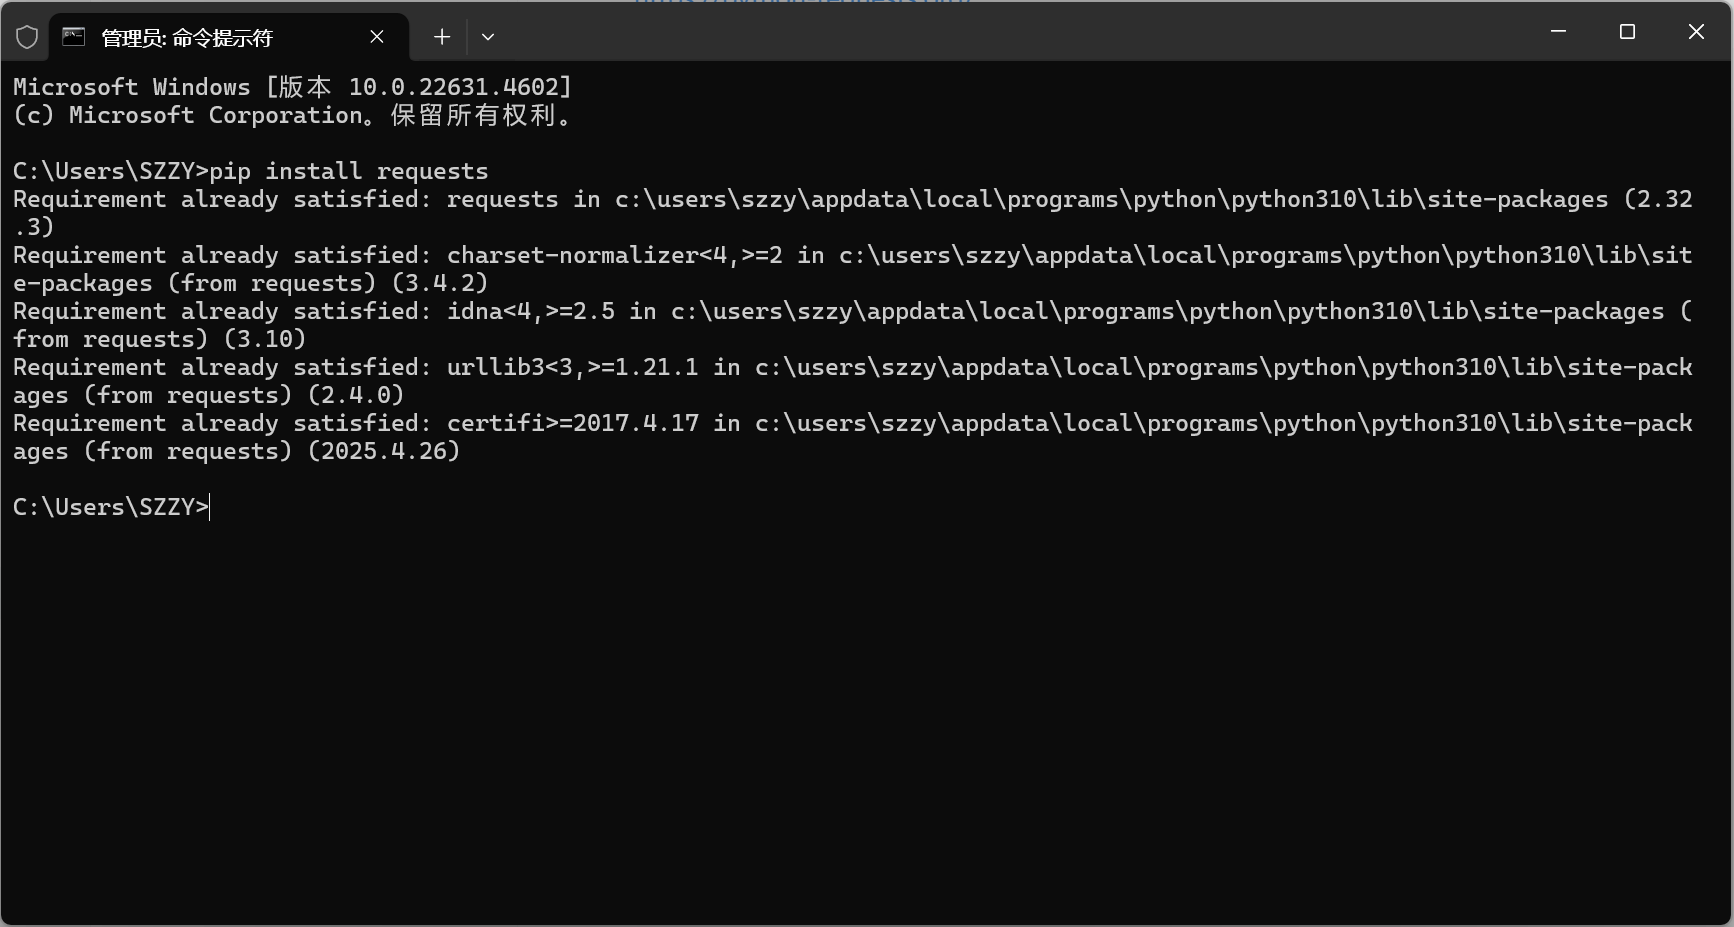
安装:pip install requests#
基本使用#
1
2
3
4
5
6
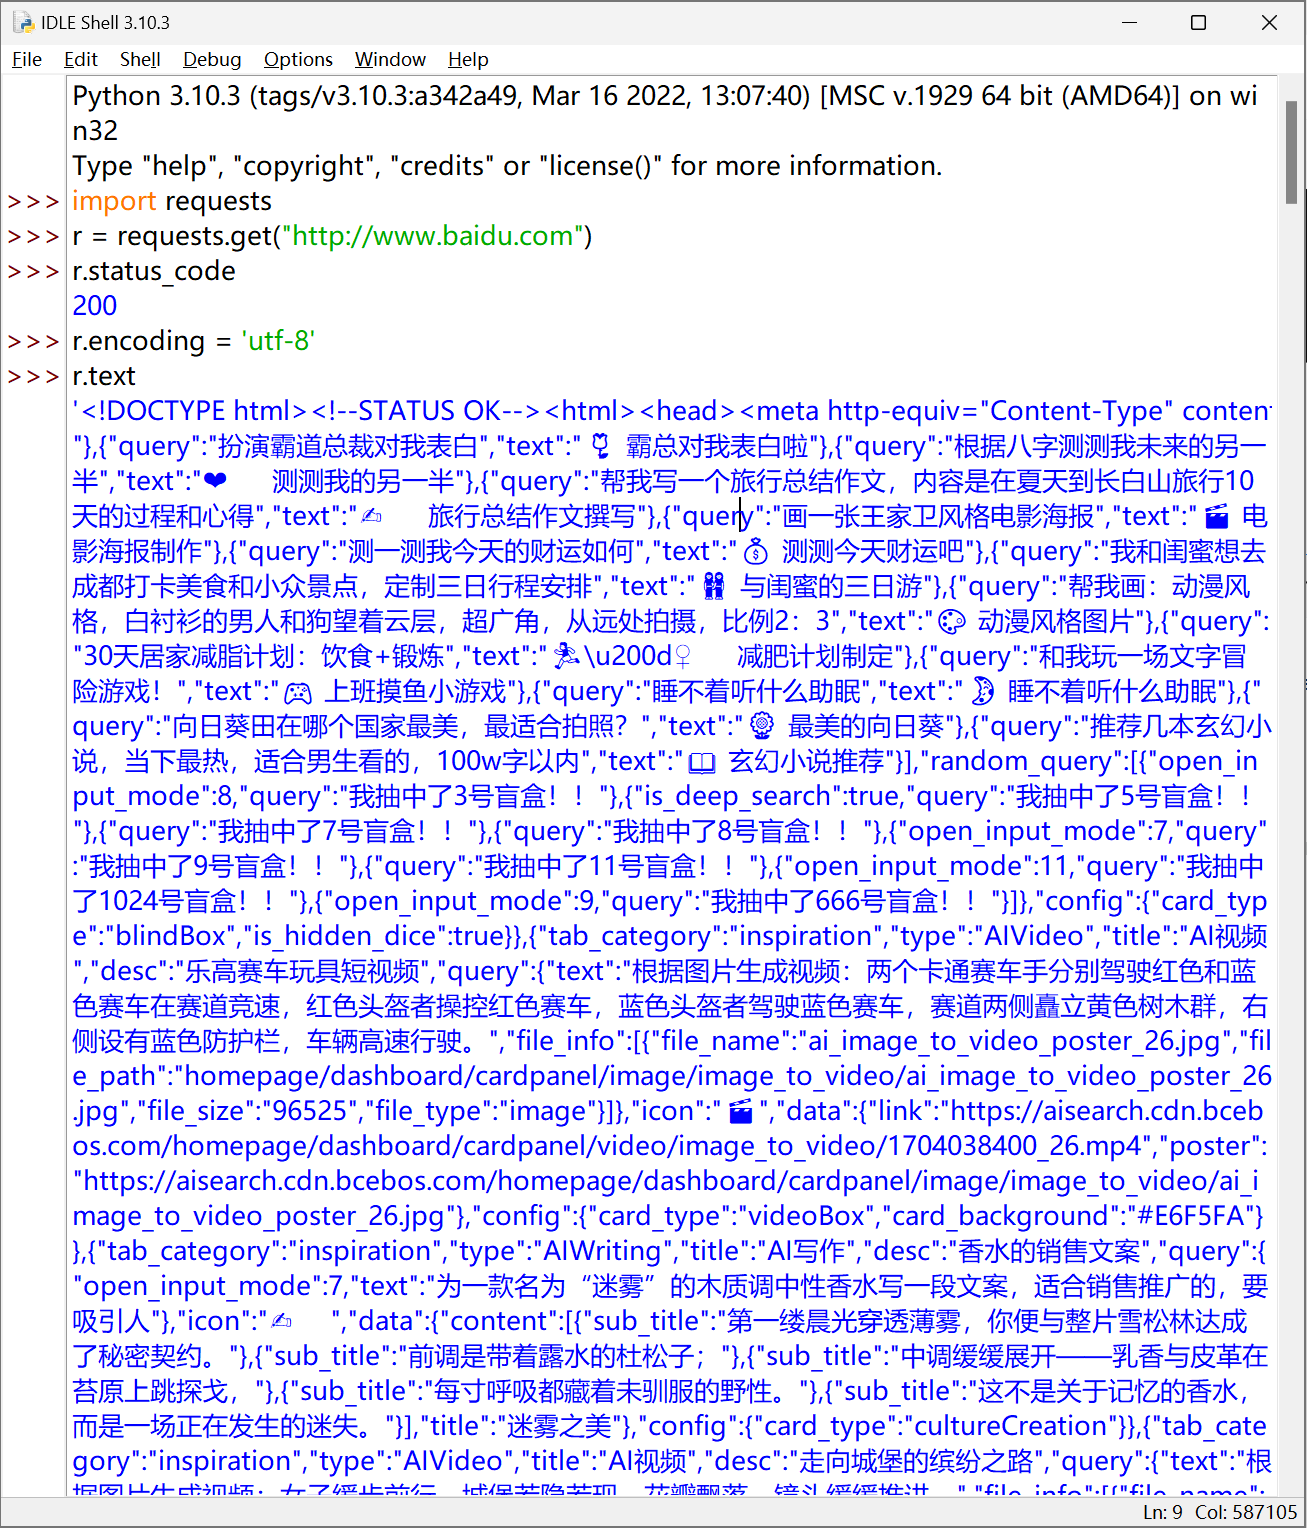
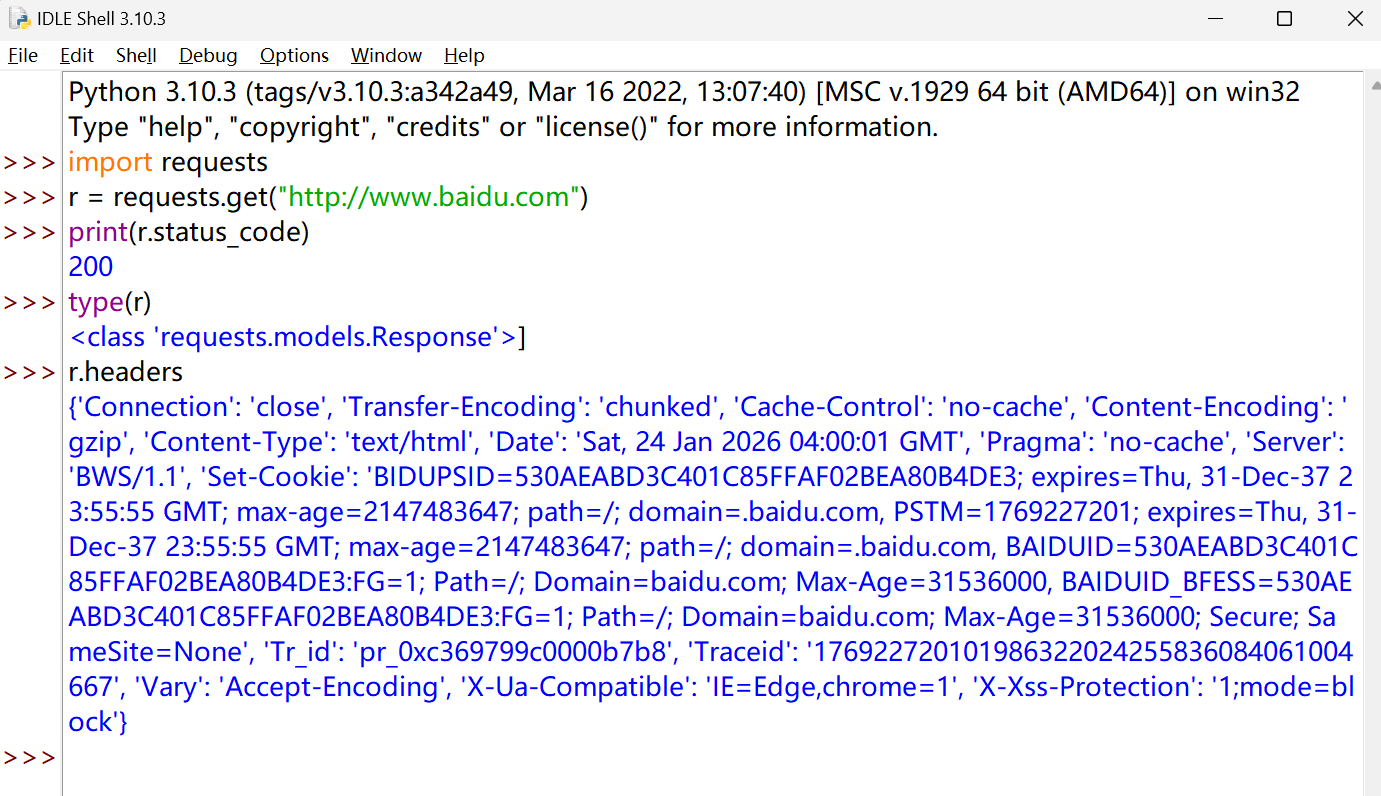
| import requests
r = requests.get("http://www.baidu.com")
r.status_code
200
r.encoding = 'utf-8'
r.text
|
HTTP 协议#
HTTP, Hypertext Transfer Protocol, 超文本传输协议。
HTTP 是一个基于”请求于响应“模式的、无状态的应用层协议。
”请求于响应“模式 :用户发起请求,服务器做出响应
无状态 :第一次请求与第二次请求之间并没有相关的关联
应用层 :指的是该协议工作在 TCP 协议之上
HTTP 协议采用 URL 作为 定位网路资源的标识
URL 格式 http://host[:port][path]
host : 合法的 Internet 主机域名或 IP 地址
port : 端口号,缺省端口为 80
path : 请求资源的路径
HTTP 协议对资源的操作#
| 方法 | 说明 |
|---|
| GET | 请求获取URL位置的资源 |
| HEAD | 请求获取URL位置资源的响应消息报告,即获得该资源的头部信息 |
| POST | 请求向URL位置的资源后附加新的数据 |
| PUT | 请求向URL位置存储一个资源,覆盖原URL位置的资源 |
| PATCH | 请求局部更新URL位置的资源,即改变该处资源的部分内容 |
| DELETE | 请求删除URL位置存储的资源 |
理解 PATCH 和 PUT 的区别#
假设 URL 位置有一组数据 UserInfo,包括 UserID、UserName 等 20 个字段。
需求:用户修改了 UserName,其他不变。
- 采用 PATCH,仅向 URL 提交 UserName 的局部更新请求。
- 采用 PUT,必须将所有 20 个字段一并提交到 URL,未提交字段被删除。
PATCH 的最主要好处:节省网络带宽
Requests 库的 7 个主要方法#
| 方法 | 说明 |
|---|
| requests.request() | 构造一个请求,支撑以下各种方法的基础方法 |
| requests.get() | 获取 HTML 网页的主要方法,对应于 HTTP 的 GET |
| requests.head() | 获取 HTML 网页头信息的方法,对应于 HTTP 的 HEAD |
| requests.post() | 向 HTML 网页提交 POST 请求的方法,对应于 HTTP 的 POST |
| requests.put() | 向 HTML 网页提交 PUT 请求的方法,对应于 HTTP 的 PUT |
| requests.patch() | 向 HTMl 网页提交局部修改请求,对应于 HTTP 的 PATCH |
| requests.delete() | 向 HTML 页面提交删除请求,对应于 HTTP 的 DELETE |
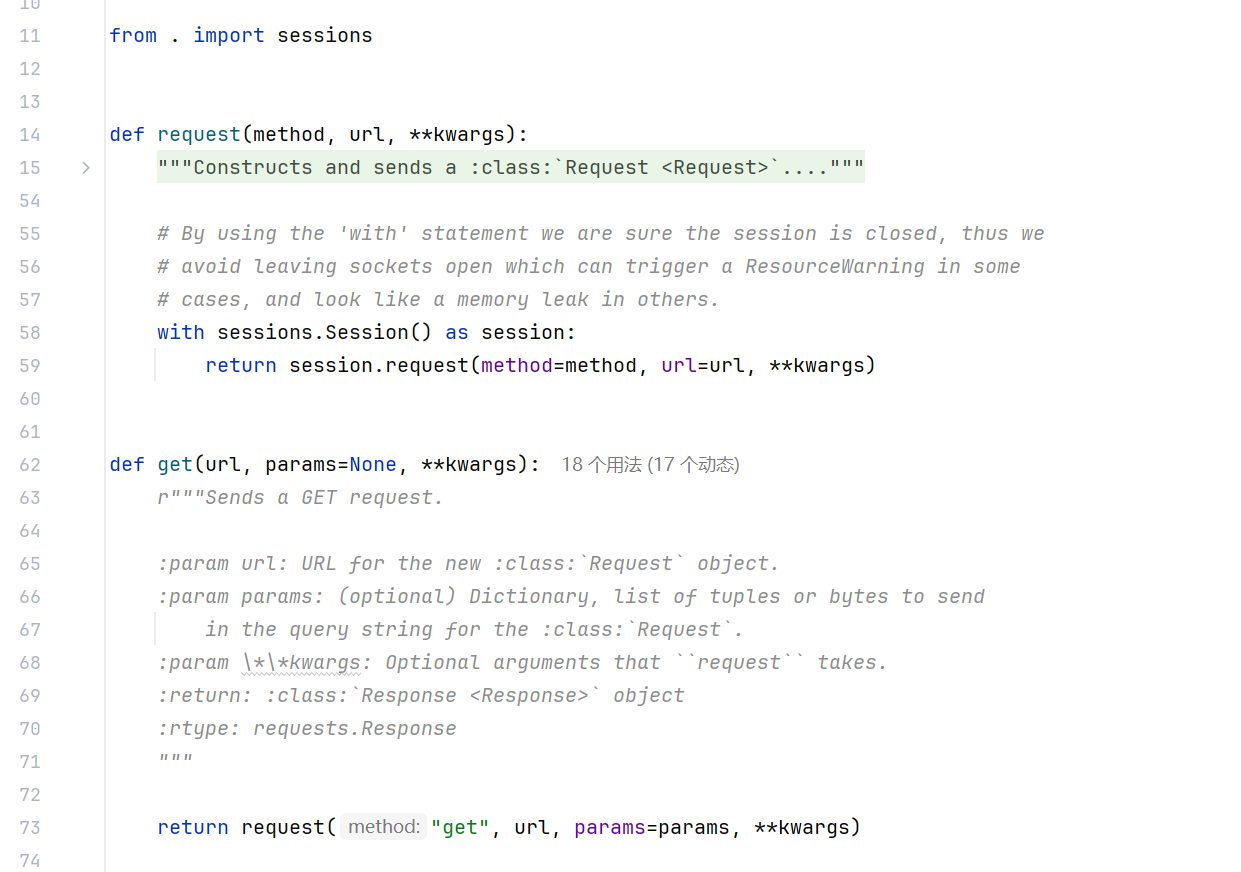
requests.request()#
requests.request(method, url, **kwargs)
method:请求方式,对应 get/put/post 等 7 种- r=requests.request(‘GET’,url,**kwargs)
- r=requests.request(‘HEAD’,url,**kwargs)
- r=requests.request(PosT’,url,**kwargs)
- r=requests.request(PUT’,url,**kwargs)
- r=requests.request(PATCH’,url,**kwargs)
- r=requests.request(‘delete’,url,**kwargs)
- r=requests.request(‘OPTIONS’,url,**kwargs)
url:拟获取页面的 url 链接**kwargs:控制访问参数,共 13 个- params : 字典或字节序列,作为参数增加到url中
- data : 字典、字节序列或文件对象,作为Request的内容
- json : JSON格式的数据,作为Request的内容
- headers : 字典,HTTP 定制头
- cookies:字典或 CookieJar ,Request 中的 cookie
- auth :元组,支持 HTTP 认证功能
- files : 字典类型,传输文件
- timeout : 设定超过时间,秒为单位
- proxies : 字典类型,设定访问代理服务器,可以增加登录认证
- allow_redirects : True/False,默认为 True,重定向开关
- stream : True/False 默认为 True,获取内容立即下载开关
- verify : True/False,默认为 True,认证 SSL 证书开关
- cert : 本地 SSL 证书路径
requests.get()#
requests.get(url, params=None, **kwargs)
url:拟获取页面的 url 链接params:url 中的额外参数,字典或字节流格式,可选**kwargs:12 个控制访问的参数
查看源码:
import requests
print(requests.__file__)
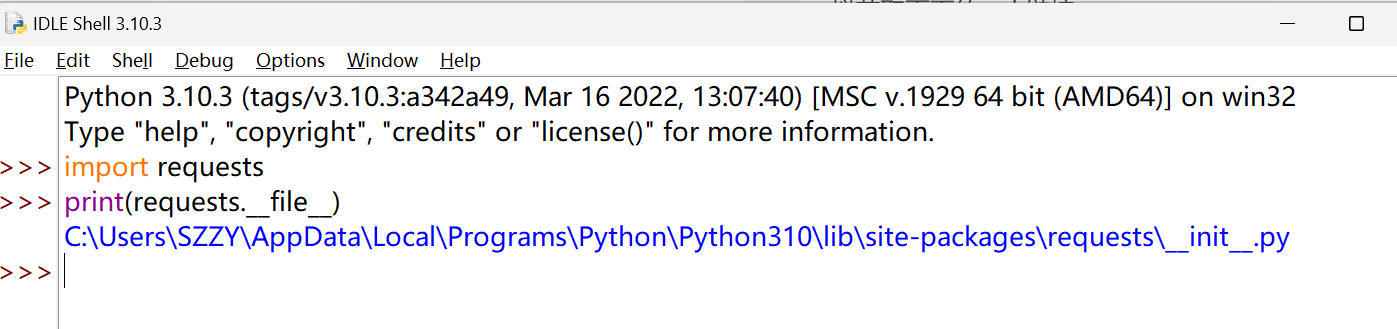
可以看到,get 方法还是调用 requests 的方法来实现的,
Requests 库的 2 个重要对象#
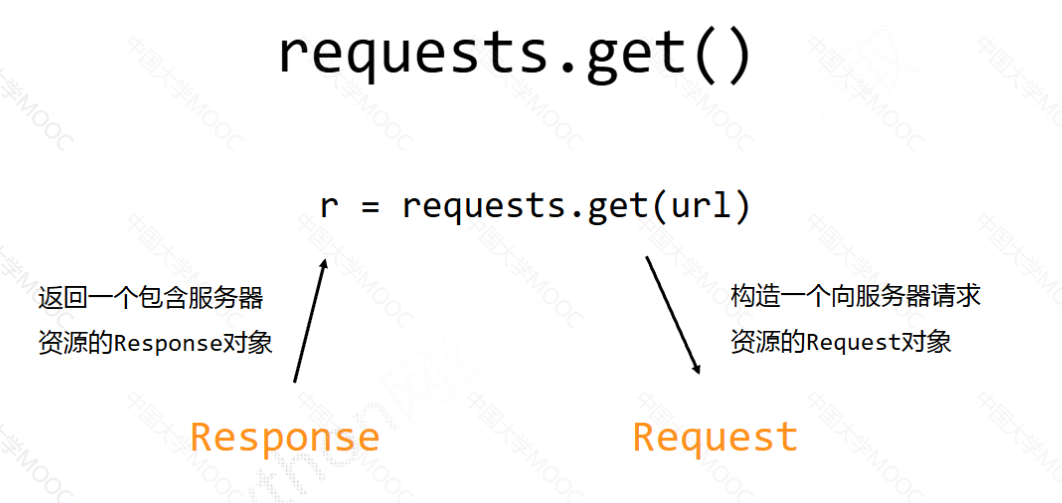
r = requests.get(url)
Response 对象包含爬虫返回的内容
Request
Response 对象#
1
2
| type(r)
<class 'requests.models.Response'>
|
说明requests.get()**返回的是一个 **Response** 对象,**这个对象 封装了一次 HTTP 响应的全部内容
查看 get 请求获得页面的头部信息
Response 对象的属性#
| 属性 | 说明 |
|---|
| r.status_code | HTTP 请求的返回状态 |
| r.text | HTTP 响应内容的字符串形式,即 url 对应的页面内容 |
| r.encoding | 从 HTTP header 中猜测的响应内容编码方式 |
| r.apparent_encoding | 从内容中分析出的响应内容编码方式 |
| r.content | HTTP 响应内容的二进制形式 |
编码方式的区别#
r.encoding 的编码方式是从 HTTP header 中的 charset 字段获得的
如果 header 中不存在 charset,则认为编码为 ISO-8859-1 (这个编码并不能解析中文)
r.apparent_encoding 根据 HTTP 的内容部分,去分析内容中的文本可能的编码形式
具体的使用就是:
当r.text返回的内容不可读的时候,
使用r.encoding发现编码方式为 ISO-8859-1 ,
使用r.apparent_encoding发现备选编码方式为 utf-8,
此时,我们就可以用r.encoding = 'utf-8'将编码方式切换,
再次使用r.text输出,中文字符就可以正常显示了。
requests.head()#
requests.head(url, **kwargs)
url:拟获取页面的 url 链接**kwargs:12 个控制访问的参数
1
2
3
4
5
6
| import requests
r = requests.head('http://httpbin.org/get')
r.headers
{'Connection': 'close', 'Content-Length': '314', 'Access-Control-Allow-Credentials': 'true', 'Access-Control-Allow-Origin': '*', 'Content-Type': 'application/json', 'Date': 'Sat, 24 Jan 2026 05:21:20 GMT', 'Server': 'gunicorn/19.9.0'}
r.text
''
|
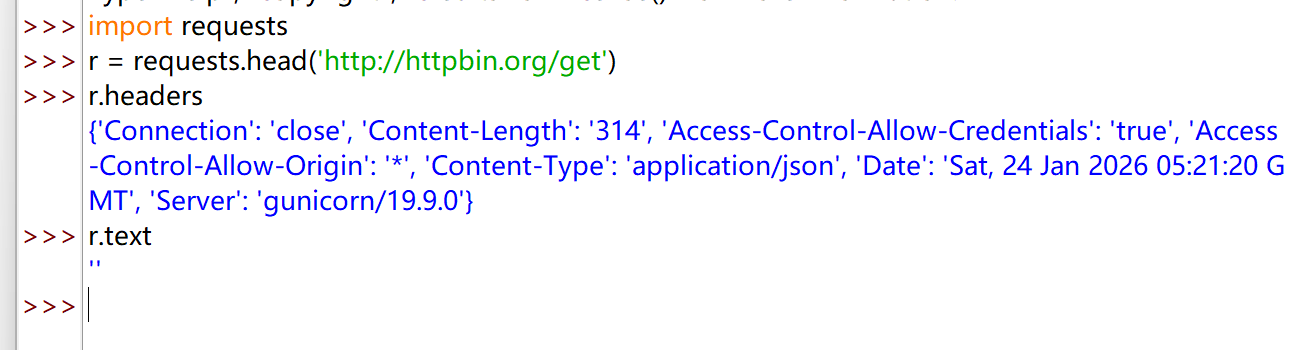
用 head 方法可以用很少的网络流量获取网络资源的概要信息
requests.post()#
requests.post(url, data=None, json=None, **kwargs)
url:拟更新页面的 url 链接data:字典、字节序列或文件,Request 的内容json:JSON 格式的数据,Request 的内容**kwargs:11 个控制访问的参数
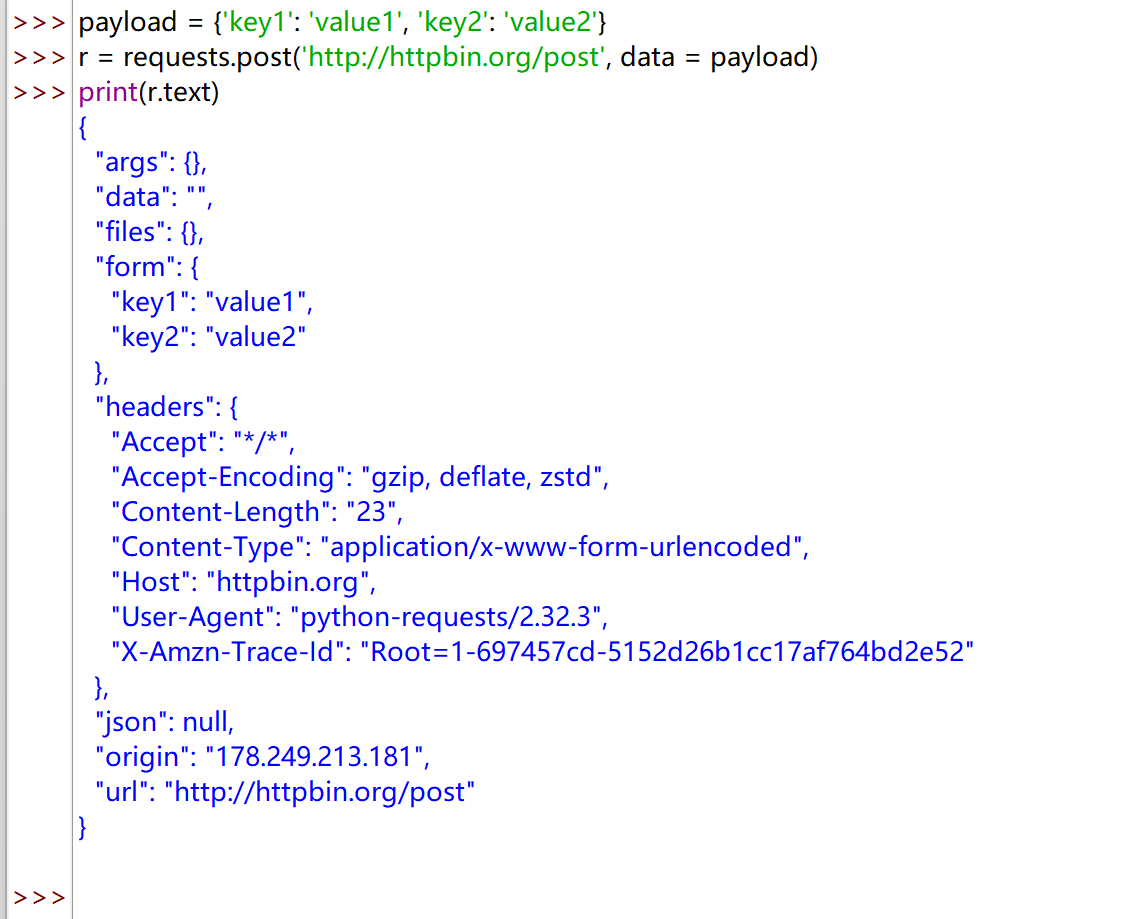
向 URL POST 一个字典自动编码为 form(表单)
 1
 2
 3
 4
 5
 6
 7
 8
 9
10
11
12
13
14
15
16
17
18
19
20
21
22
23
24
| payload = {'key1': 'value1', 'key2': 'value2'}
r = requests.post('http://httpbin.org/post', data = payload)
print(r.text)
{
"args": {},
"data": "",
"files": {},
"form": {
"key1": "value1",
"key2": "value2"
},
"headers": {
"Accept": "*/*",
"Accept-Encoding": "gzip, deflate, zstd",
"Content-Length": "23",
"Content-Type": "application/x-www-form-urlencoded",
"Host": "httpbin.org",
"User-Agent": "python-requests/2.32.3",
"X-Amzn-Trace-Id": "Root=1-697457cd-5152d26b1cc17af764bd2e52"
},
"json": null,
"origin": "178.249.213.181",
"url": "http://httpbin.org/post"
}
|
requests.put()#
requests.post(url, data=None, **kwargs)
url:拟更新页面的 url 链接data:字典、字节序列或文件,Request 的内容**kwargs:12 个控制访问的参数
和 POST 方法类似,只不过 put 可以将原有的数据覆盖
 1
 2
 3
 4
 5
 6
 7
 8
 9
10
11
12
13
14
15
16
17
18
19
20
21
22
23
24
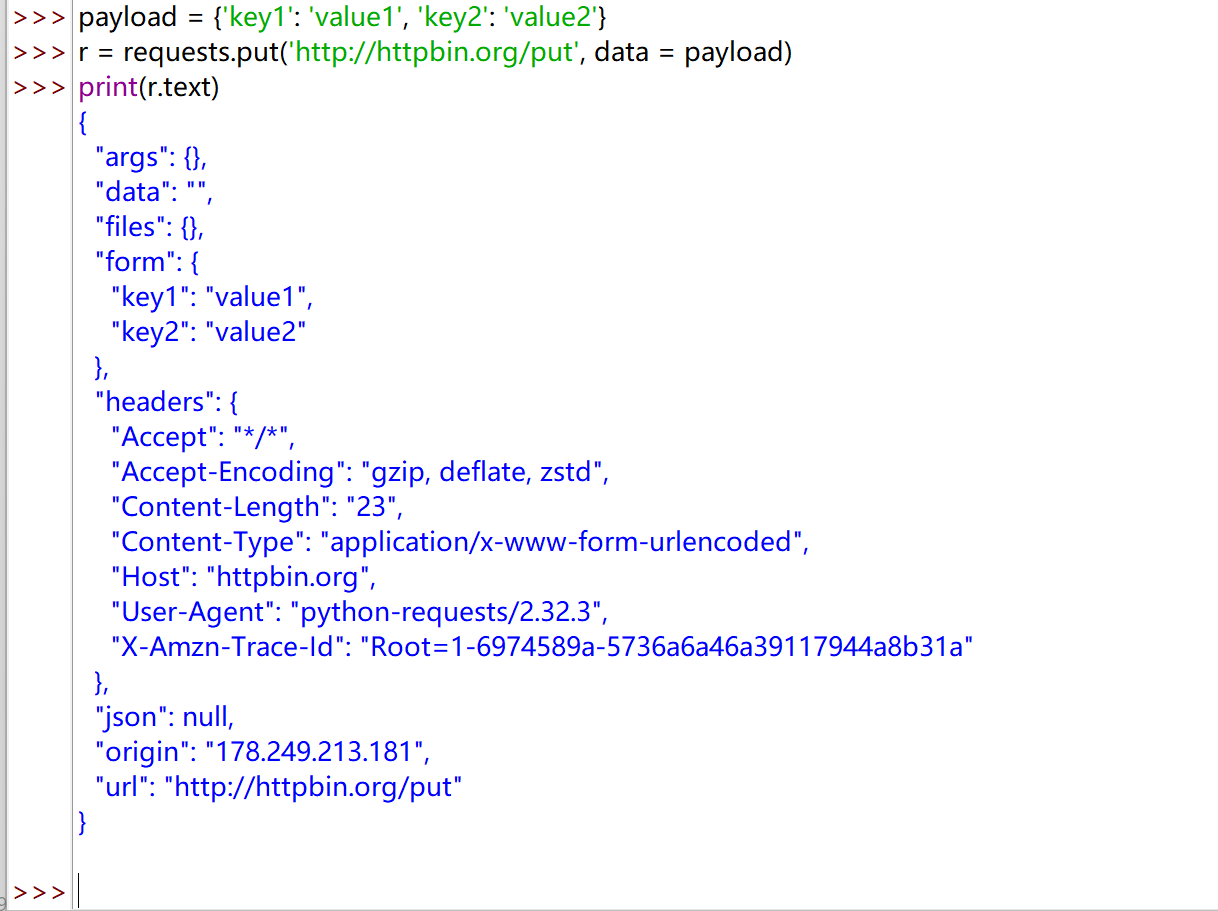
| payload = {'key1': 'value1', 'key2': 'value2'}
r = requests.put('http://httpbin.org/put', data = payload)
print(r.text)
{
"args": {},
"data": "",
"files": {},
"form": {
"key1": "value1",
"key2": "value2"
},
"headers": {
"Accept": "*/*",
"Accept-Encoding": "gzip, deflate, zstd",
"Content-Length": "23",
"Content-Type": "application/x-www-form-urlencoded",
"Host": "httpbin.org",
"User-Agent": "python-requests/2.32.3",
"X-Amzn-Trace-Id": "Root=1-6974589a-5736a6a46a39117944a8b31a"
},
"json": null,
"origin": "178.249.213.181",
"url": "http://httpbin.org/put"
}
|
requests.patch()#
requests.patch(url, data=None, **kwargs)
url:拟更新页面的 url 链接data:字典、字节序列或文件,Request 的内容**kwargs:12 个控制访问的参数
requests.delete()#
<font style="background-color:rgba(0, 0, 0, 0.06);">requests.delete(url, **kwargs)</font>
<font style="background-color:rgba(0, 0, 0, 0.06);">url</font>:拟删除页面的 url 链接<font style="background-color:rgba(0, 0, 0, 0.06);">**kwargs</font>:12 个控制访问的参数
爬取网页的通用代码框架#
Requests 库的异常#
| 异常 | 说明 |
|---|
| requests.ConnectionError | 网络连接错误异常,如DNS查询失败、拒绝连接等 |
| requests.HTTPError | HTTP错误异常 |
| requests.URLRequired | URL缺失异常 |
| requests.TooManyRedirects | 超过最大重定向次数,产生重定向异常 |
| requests.ConnectTimeout | 连接远程服务器超时异常 |
| requests.Timeout | 请求URL超时,产生超时异常 |
| r.raise_for_status() | 可以判断返回的 Response 类型是不是 200, 如果不是 200,产生异常 requests.HTTPError |
爬取网页的通用代码框架#
 1
 2
 3
 4
 5
 6
 7
 8
 9
10
11
12
13
14
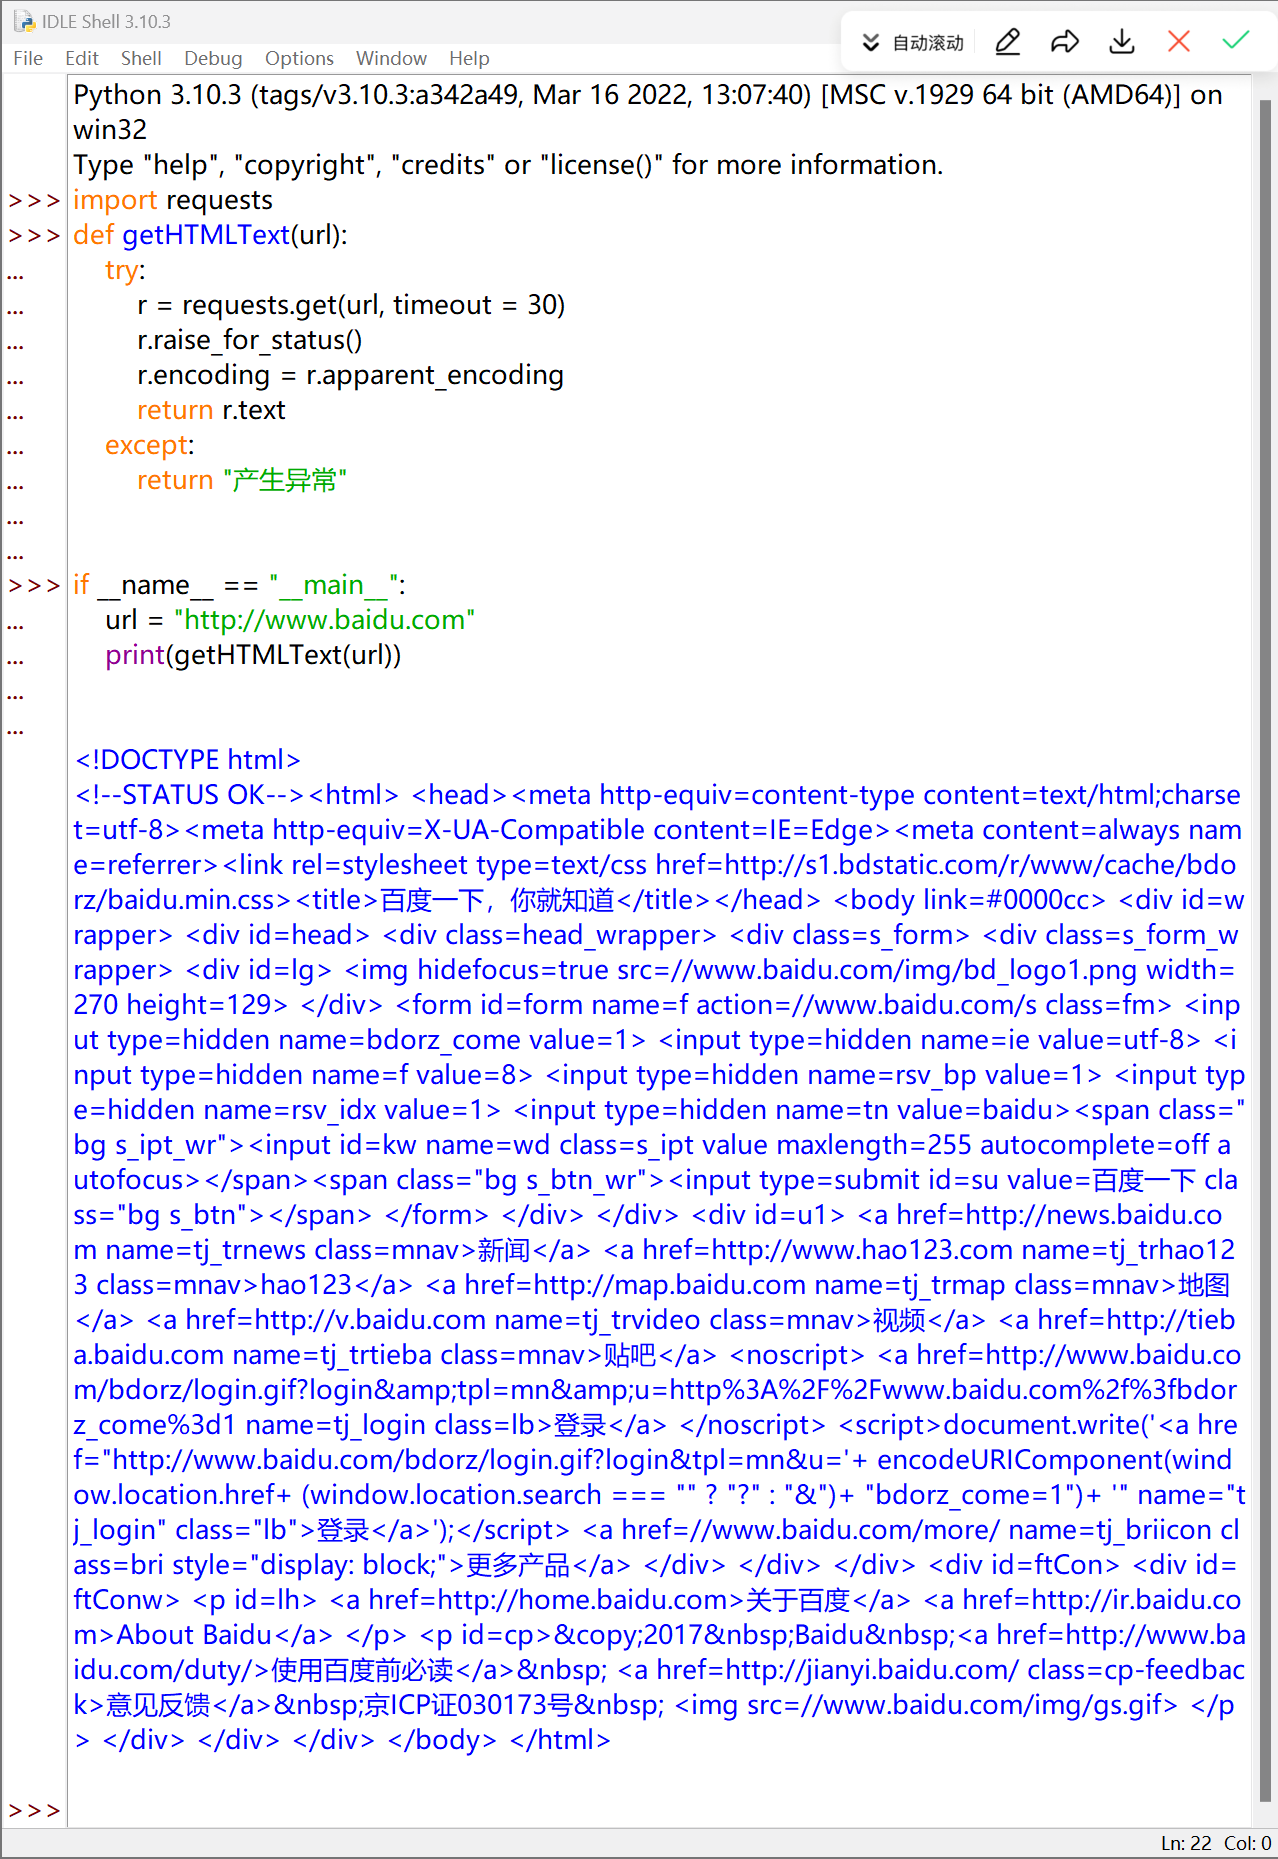
| import requests
def getHTMLText(url):
try:
r = requests.get(url, timeout = 30)
r.raise_for_status()
r.encoding = r.apparent_encoding
return r.text
except:
return "产生异常"
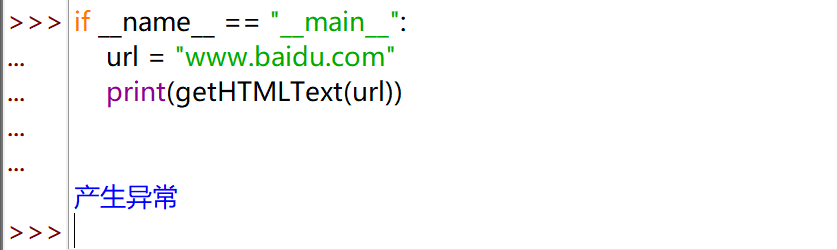
if __name__ == "__main__":
url = "http://www.baidu.com"
print(getHTMLText(url))
|
正常爬取:
产生异常
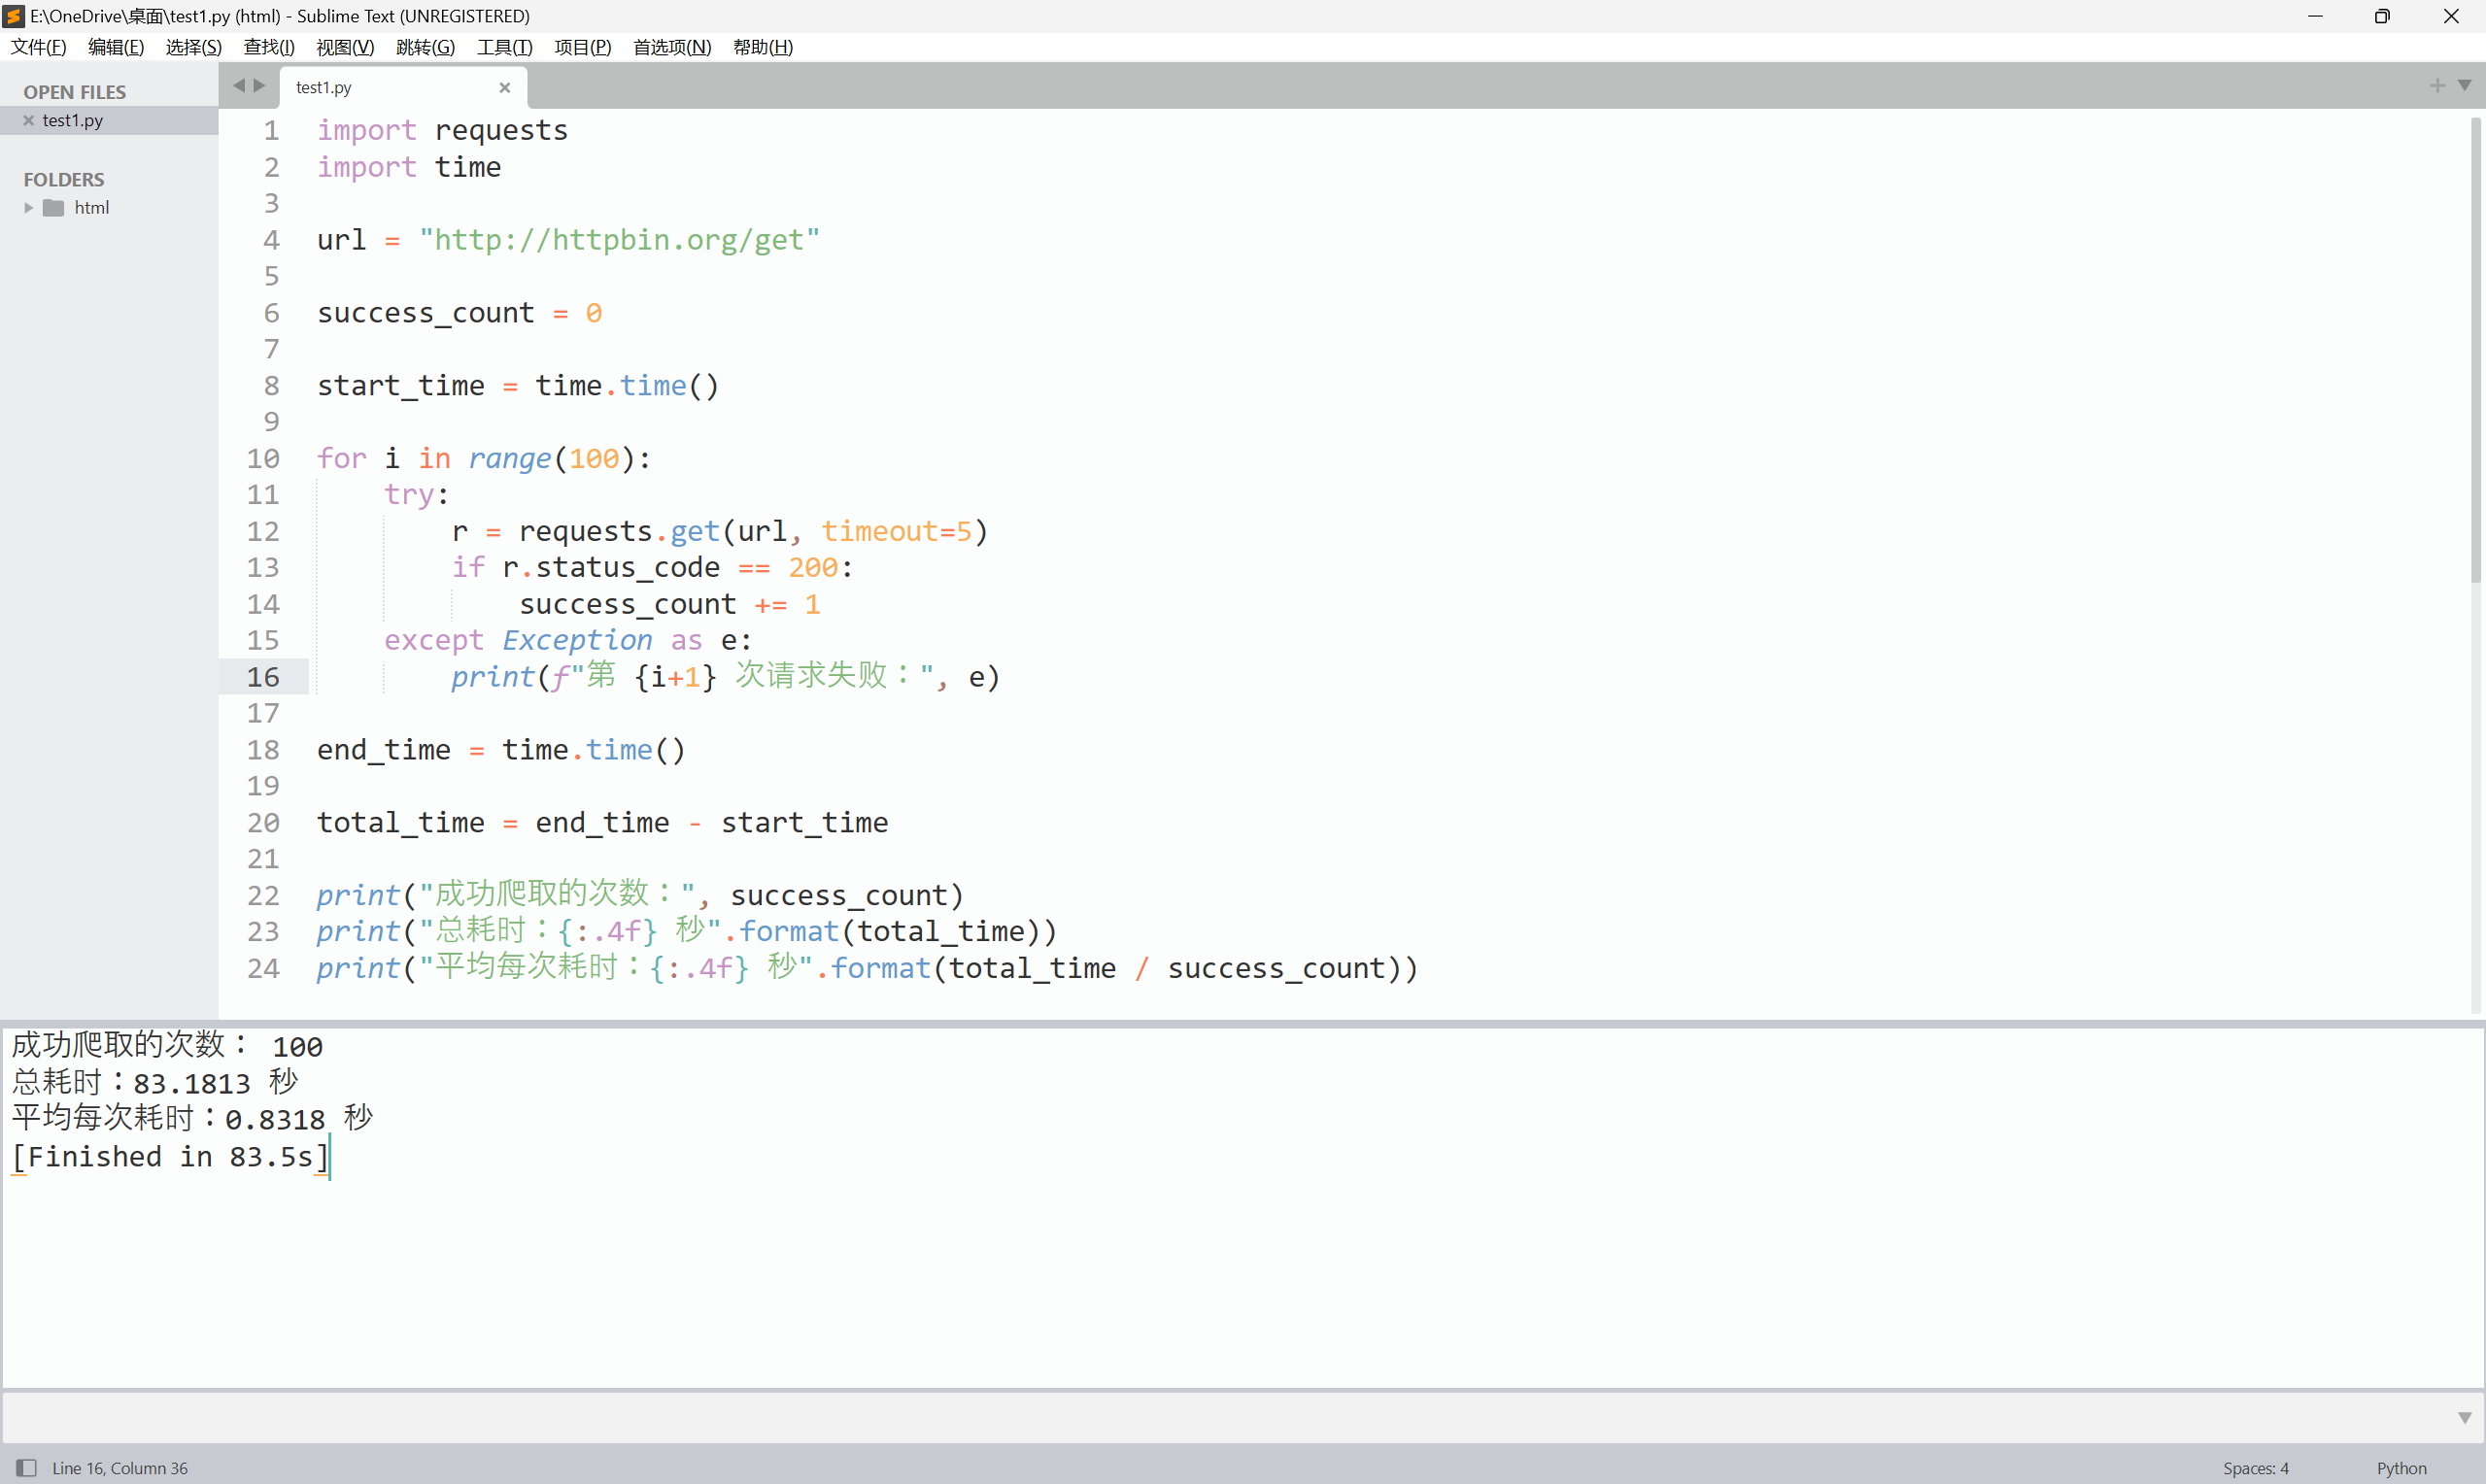
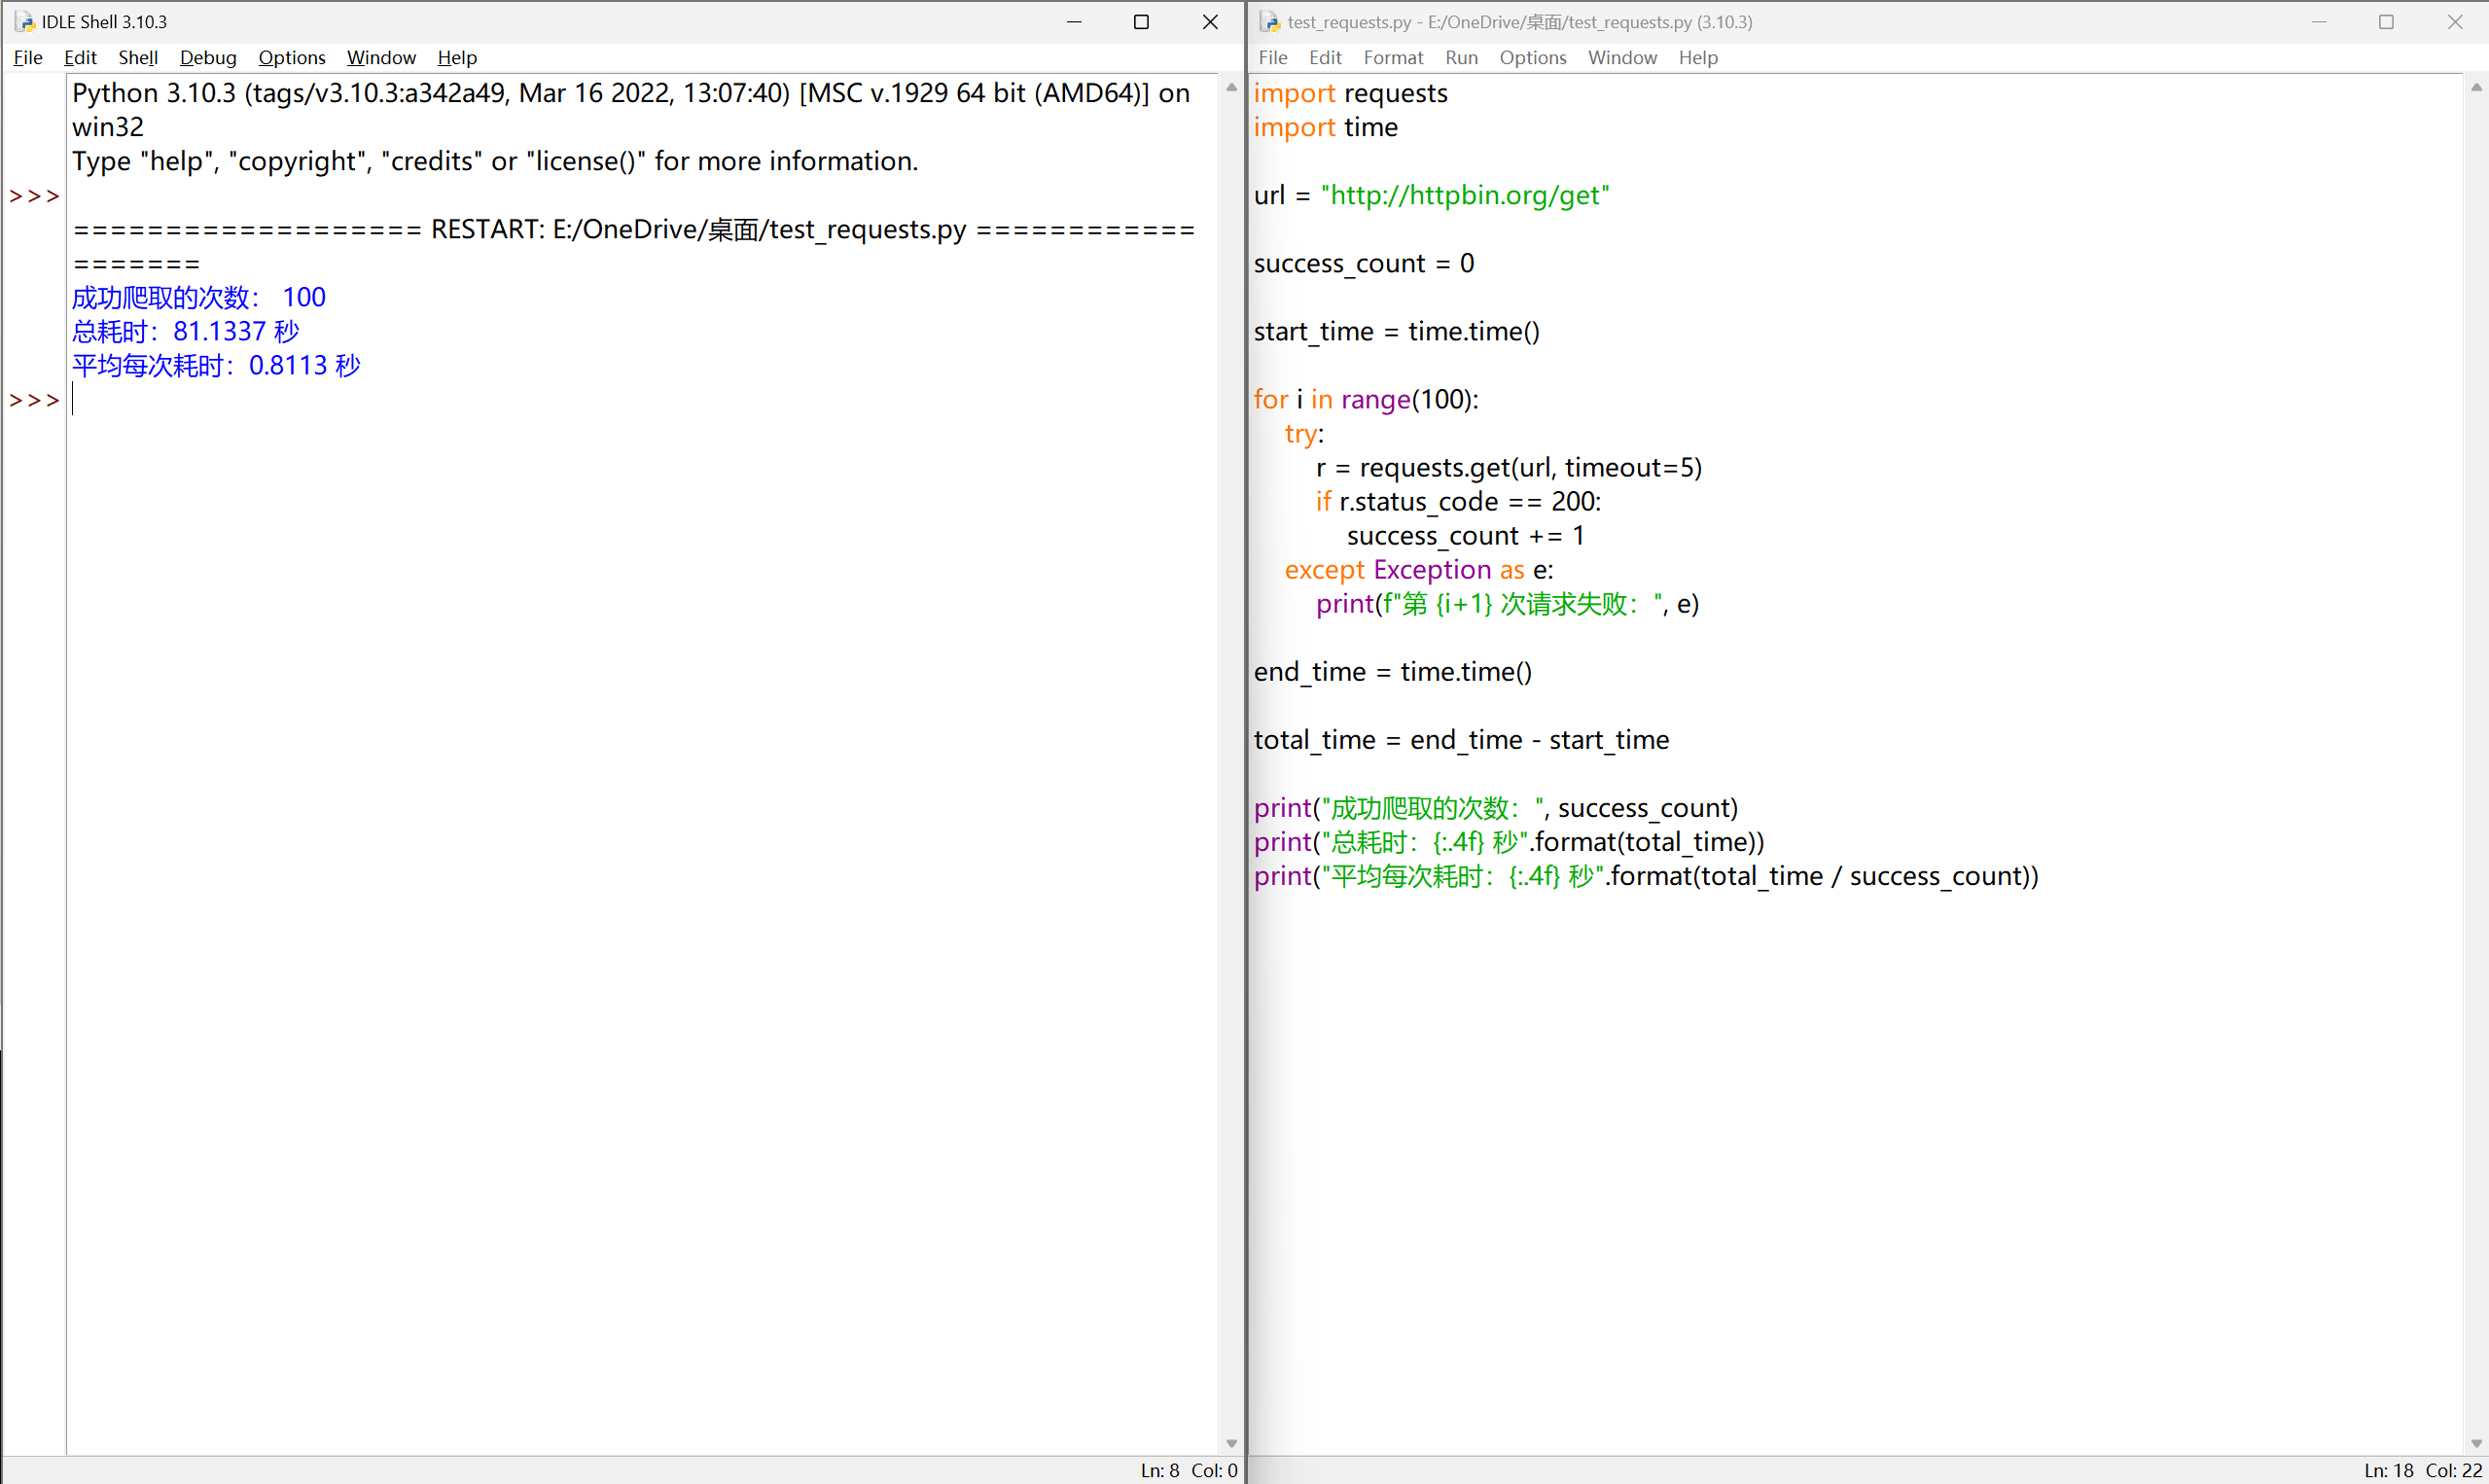
尽管 Requests 库功能很友好、开发简单(其实除了 import 外只需一行主要代码),但其性能与专业爬虫相比还是有一定差距的。请编写一个小程序,“任意”找个 url ,测试一下成功爬取100次网页的时间。(某些网站对于连续爬取页面将采取屏蔽IP的策略,所以,要避开这类网站。)
 1
 2
 3
 4
 5
 6
 7
 8
 9
10
11
12
13
14
15
16
17
18
19
20
21
22
23
24
| import requests
import time
url = "http://httpbin.org/get"
success_count = 0
start_time = time.time()
for i in range(100):
try:
r = requests.get(url, timeout=5)
if r.status_code == 200:
success_count += 1
except Exception as e:
print(f"第 {i+1} 次请求失败:", e)
end_time = time.time()
total_time = end_time - start_time
print("成功爬取的次数:", success_count)
print("总耗时:{:.4f} 秒".format(total_time))
print("平均每次耗时:{:.4f} 秒".format(total_time / success_count))
|
网络爬虫的“盗亦有道”#
网络爬虫引发的问题#
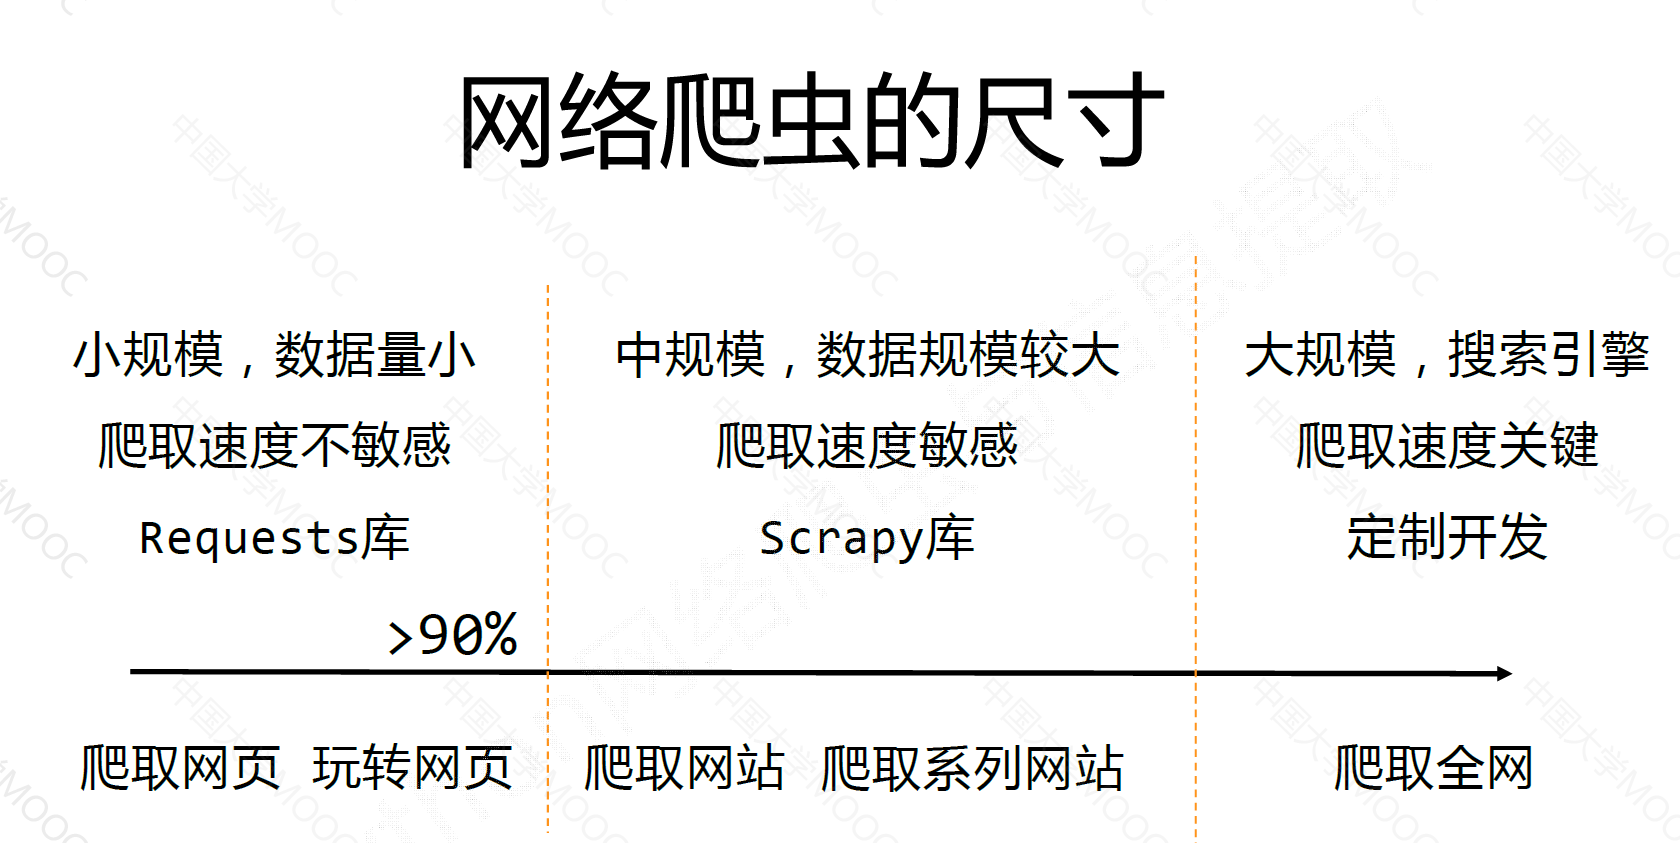
网络爬虫的尺寸#
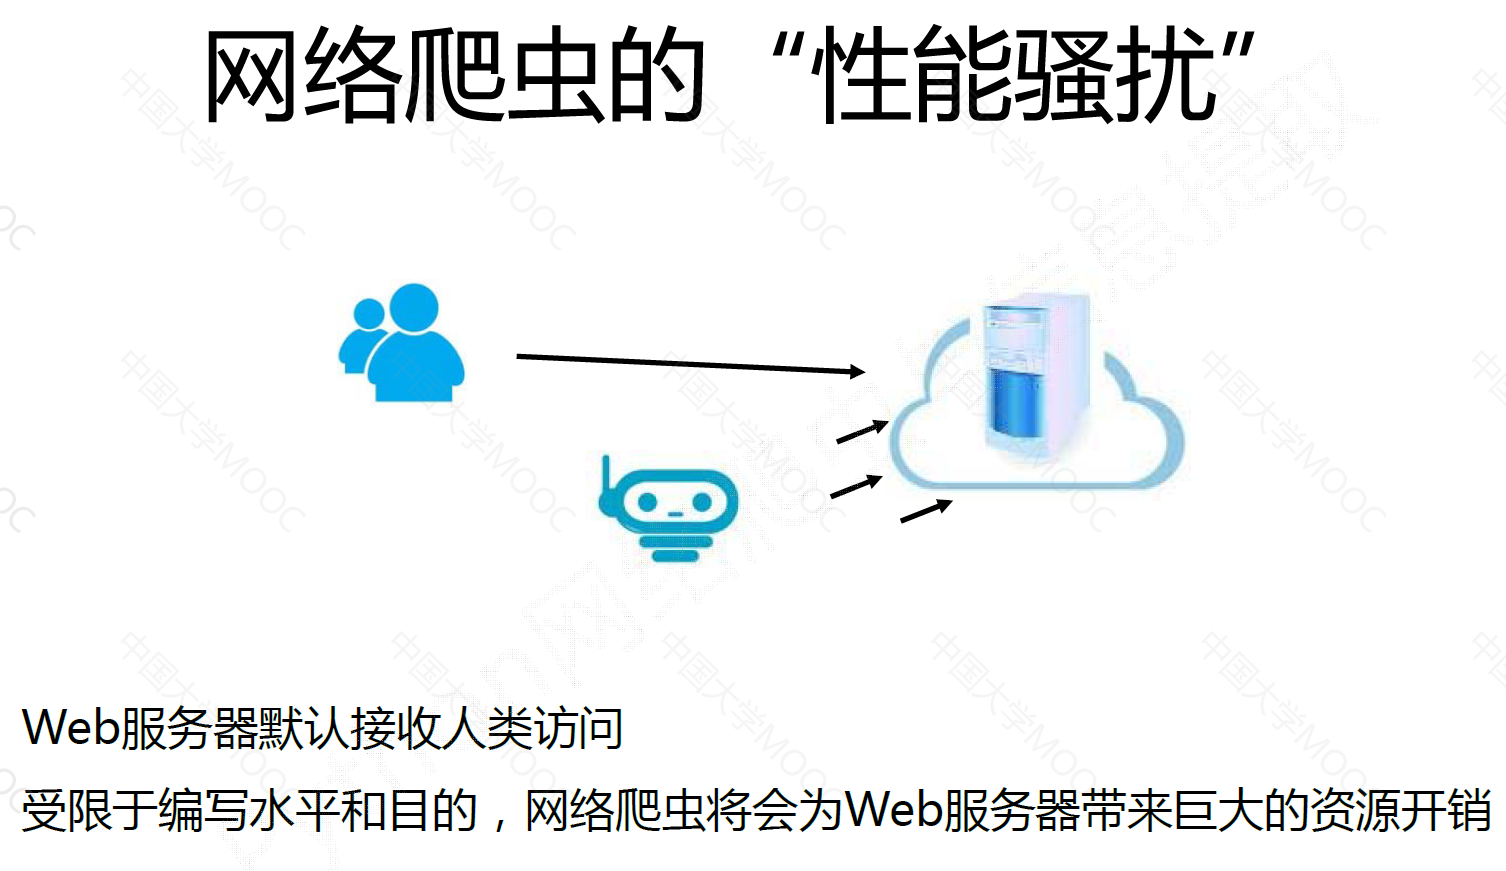
网络爬虫的性能骚扰#
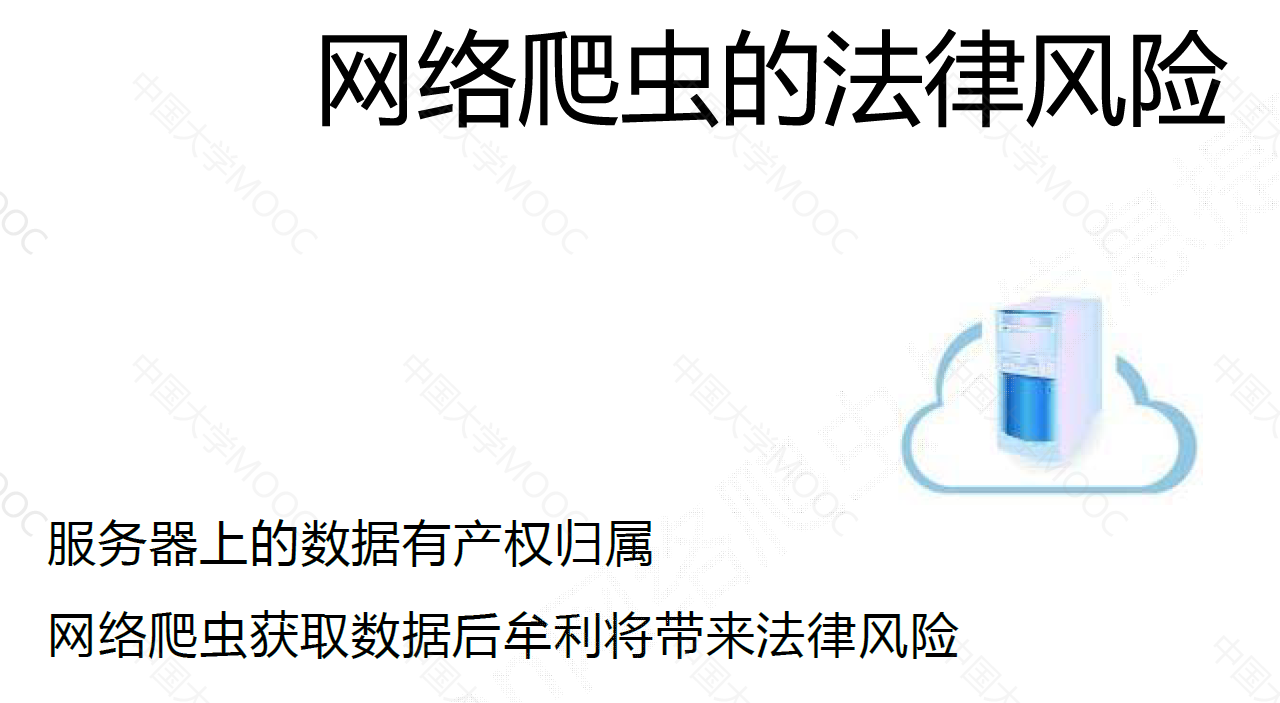
网络爬虫的法律风险#
网络爬虫给的隐私泄露#
网络爬虫的规则和限制#
来源审查:判断User‐Agent进行限制
- 检查来访HTTP协议头的User‐Agent域,只响应浏览器或友好爬虫的访问
发布公告:Robots协议
Robots 协议#
Robots Exclusion Standard 网络爬虫排除标准
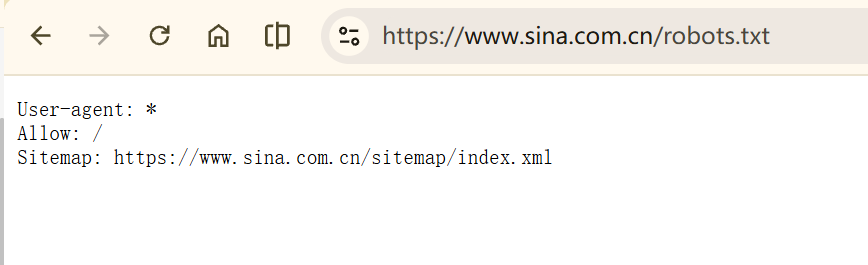
作用:网站告知网络爬虫哪些页面可以爬取,哪些不可以。
形式:在网站根目录下的 robots.txt
案例:#
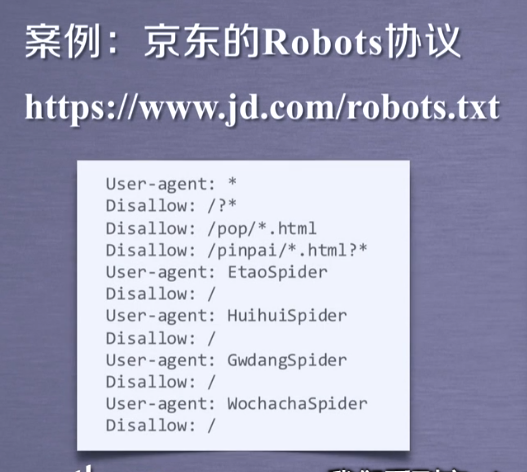
京东的 Robots 协议#
(我测试的时候,发现并没有 https://www.jd.com/robots.txt 这个静态资源,可能是京东做了其他的反爬措施吧)
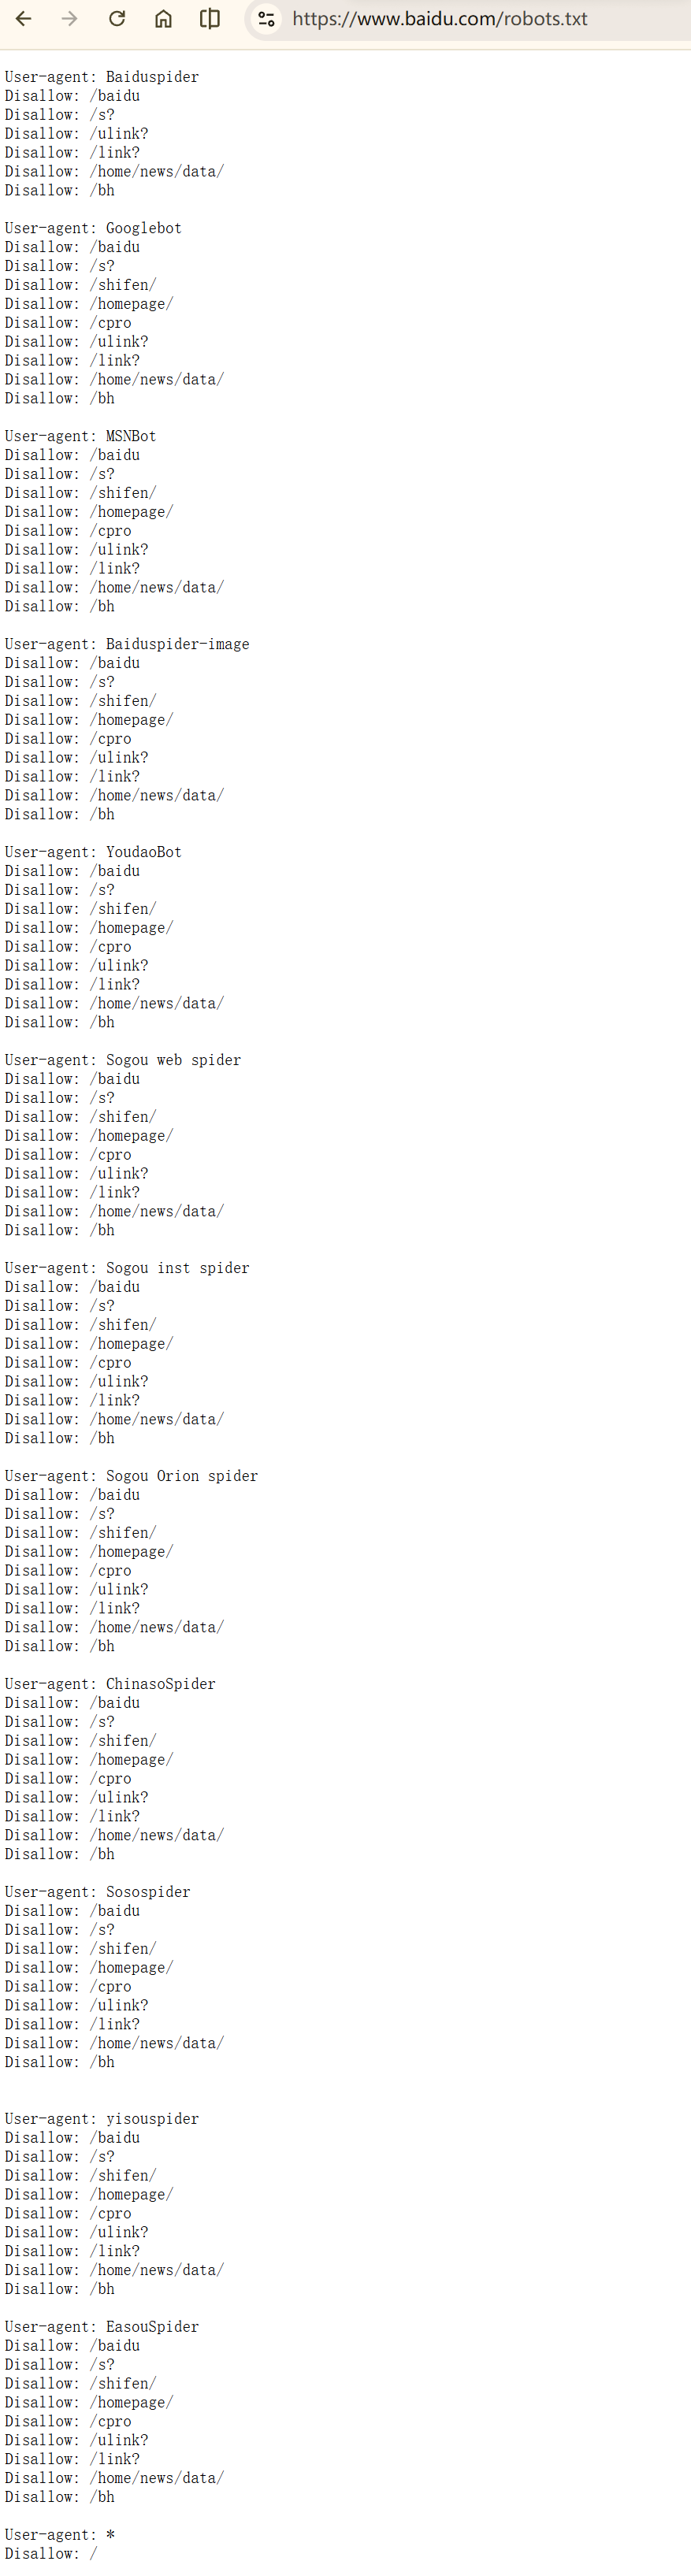
百度的 Robots 协议#
https://www.baidu.com/robots.txt
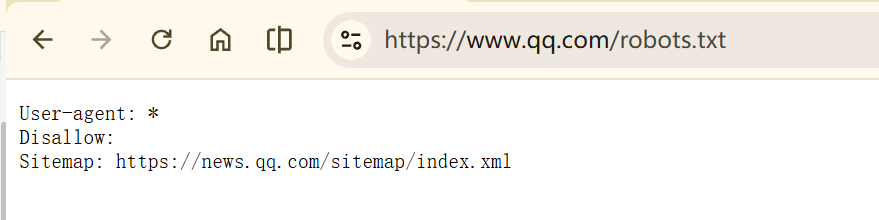

Robots 协议的基本语法#
1
2
3
4
5
6
| # 注释
* 代表所有
/ 代表根目录
User-agent: * 代表哪些爬虫
Disallow: / 代表爬虫不允许访问的资源
|
Robots 协议的遵守方式#
Robots 协议的使用#
网络爬虫:自动或人工识别 robots.txt,再进行内容爬取。
约束性:Robots 协议是建议但非约束性,网络怕爬虫可以不遵守,但存在法鲁风险
原则:类人行为可不参考 Robots 协议
Requests 库网络爬虫实战#
实例一:京东商品页面的爬取#
(实际上,目前为止京东的反爬已经很成熟了,未登录的用户是访问不了商品信息的,所以直接那一个商品链接去爬取,是不会得到商品信息的)
https://item.jd.com/12319257.html?spmTag=YTAyMTkuYjAwMjM1Ni5jMDAwMDY0MDkuMTQ&pvid=0403b0a764ec453ea9817e8c75a44b99
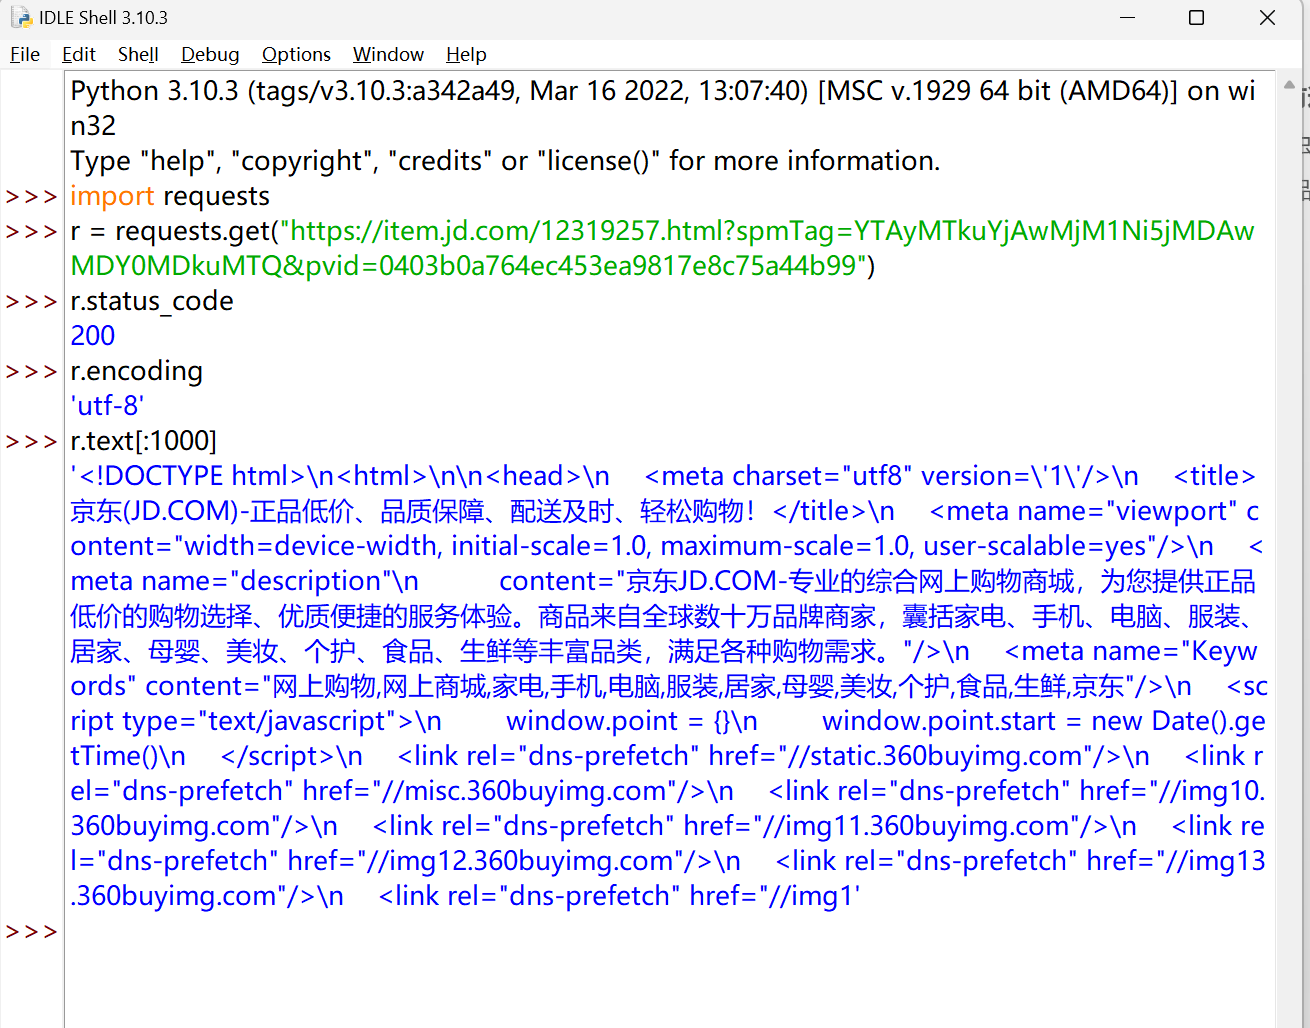
1
2
3
4
5
6
7
8
9
| import requests
url = ""
try:
r = requests.get(url)
r.raise_for_status()
r.encoding = r.apparent_encoding
print(r.text[:1000])
except:
print("爬取失败")
|
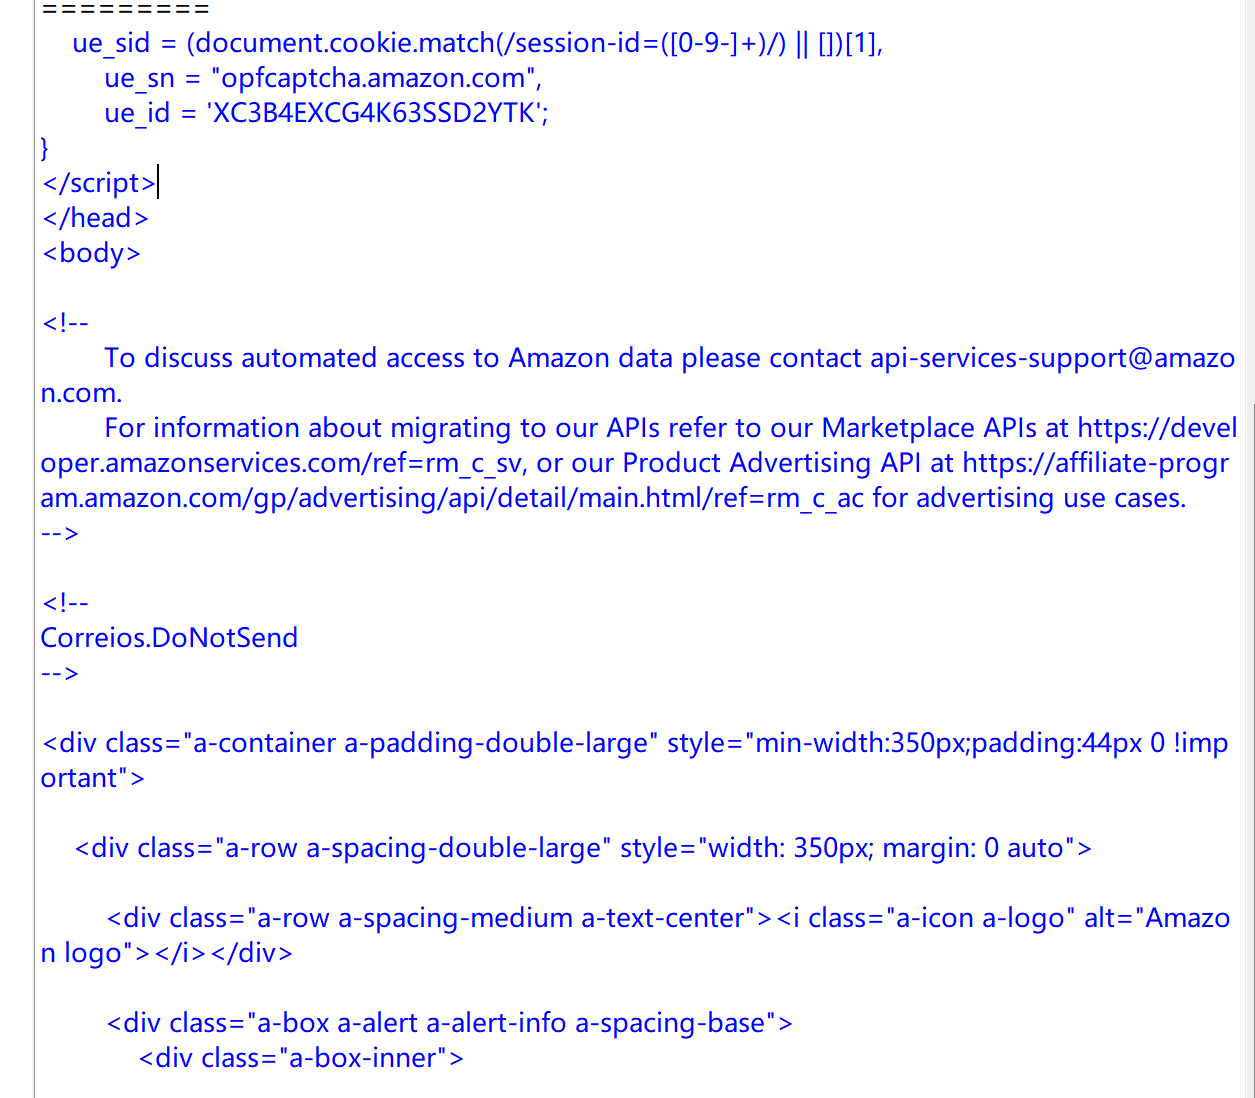
实例二:亚马逊商品页面的爬取#
 1
 2
 3
 4
 5
 6
 7
 8
 9
10
| import requests
url = "https://www.amazon.com/dp/B0FWV56H48?ref=dlx_deals_dg_dcl_B0FWV56H48_dt_sl14_c6_pi&pf_rd_r=VDKDWZ93A7PAEC5W2WZZ&pf_rd_p=b343bf4e-9a59-4902-9f89-b3ece0bb2fc6&th=1"
try:
kv = {'user-agent':'Mozilla/5.0'}
r = requests.get(url, headers=kv)
r.raise_for_status()
r.encoding = r.apparent_encoding
print(r.text[1000:2000])
except:
print("爬取失败")
|
显然,对于当前的网站来说反爬机制很完善了,仅靠修改 user-agent 头并不能完全爬取
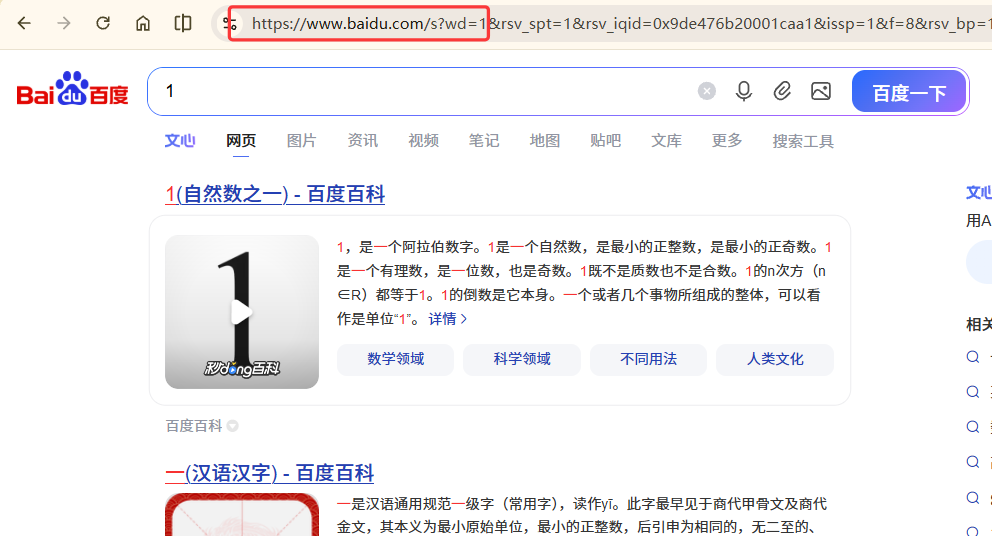
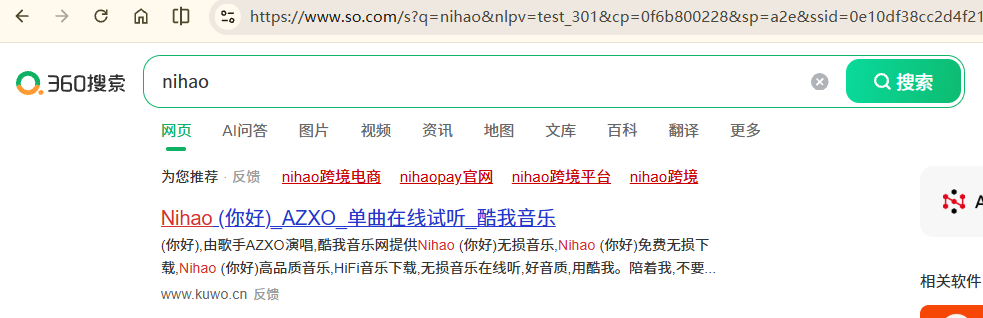
实例三:百度 360 搜索关键词提交#

搜索引擎关键词提交接口:
百度:https://www.baidu.com/s?wd=keyword
360:https://www.so.com/s?q=keyword
1
2
3
4
5
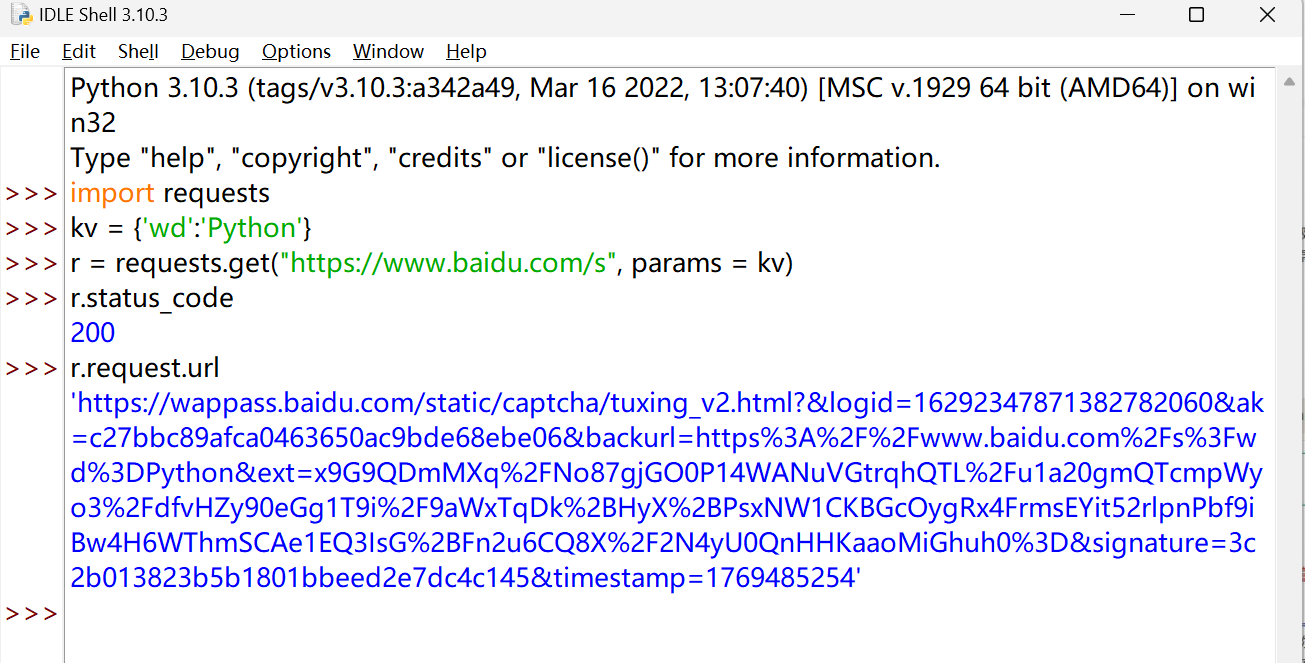
| import requests
kv = {'wd':'Python'}
r= requests.get("https://www.baidu.com/s", params = kv)
r.status_code
r.request.url
|
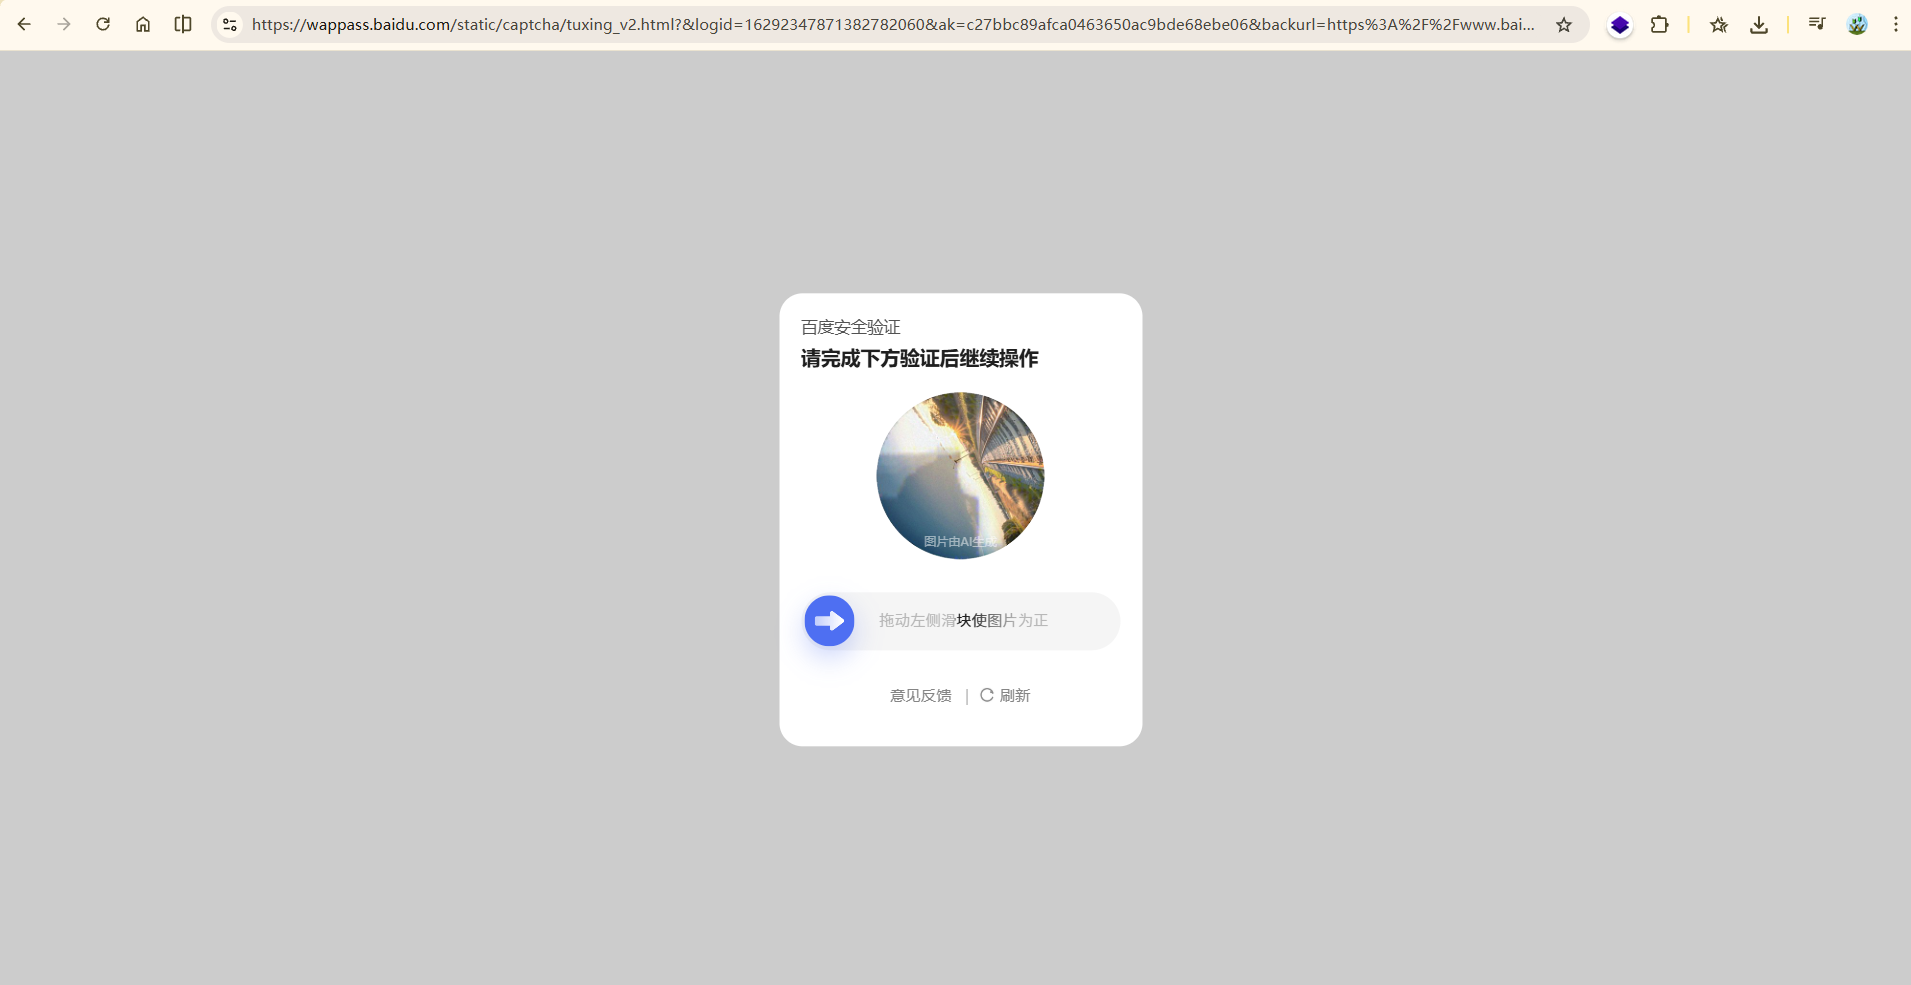
这个链接进去是一个验证页面。
核心原因是**百度的反爬虫机制识别出了我的请求不是真实浏览器发出的,而是程序(爬虫)请求,因此触发了验证码拦截来验证访问者身份**
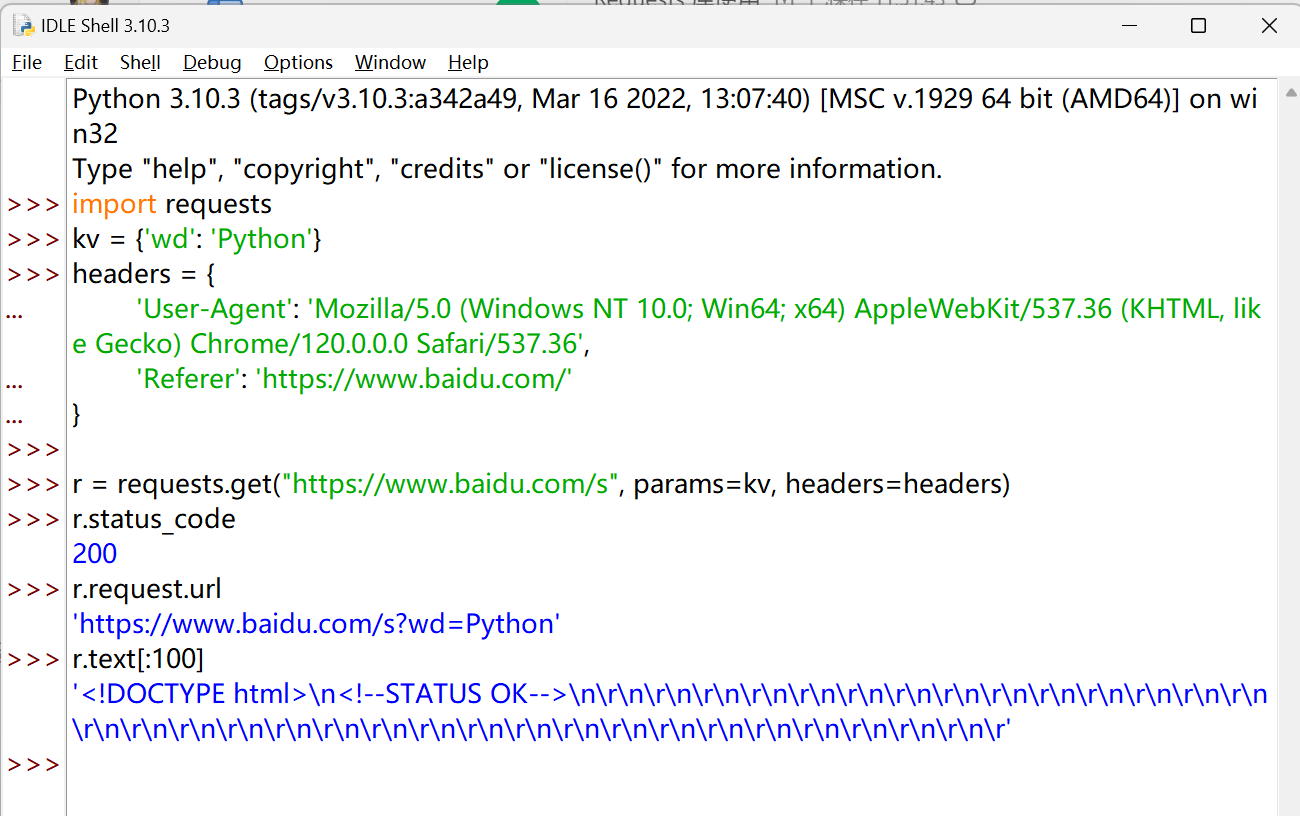
要想绕过还是得伪装请求头:
 1
 2
 3
 4
 5
 6
 7
 8
 9
10
11
12
13
14
15
16
17
18
19
| import requests
kv = {'wd': 'Python'}
# 定义请求头,核心是添加 User-Agent 伪装浏览器
headers = {
# 模拟 Chrome 浏览器的 User-Agent
'User-Agent': 'Mozilla/5.0 (Windows NT 10.0; Win64; x64) AppleWebKit/537.36 (KHTML, like Gecko) Chrome/120.0.0.0 Safari/537.36',
# 可选:添加 Referer 字段,表明请求来自百度首页,进一步提升真实性
'Referer': 'https://www.baidu.com/'
}
# 发送 GET 请求,同时传入 params(参数)和 headers(请求头)
# 注意:网址使用 https(百度默认跳转 https,更稳定)
r = requests.get("https://www.baidu.com/s", params=kv, headers=headers)
r.status_code
r.request.url
r.text[:100]
|
 1
 2
 3
 4
 5
 6
 7
 8
 9
10
11
12
13
14
15
16
17
18
19
20
21
22
23
24
25
26
27
28
29
30
31
32
| import requests
keyword = "Python" # 保留图片里的关键词定义
try:
# 1. 构造搜索参数(对应图片里的kv)
kv = {'wd': keyword}
# 2. 定义请求头(融合你提供的伪装浏览器配置)
headers = {
'User-Agent': 'Mozilla/5.0 (Windows NT 10.0; Win64; x64) AppleWebKit/537.36 (KHTML, like Gecko) Chrome/120.0.0.0 Safari/537.36',
'Referer': 'https://www.baidu.com/'
}
# 3. 发送HTTPS请求(融合你的请求方式,同时保留图片里的params参数)
r = requests.get("https://www.baidu.com/s", params=kv, headers=headers)
# 4. 保留图片里的功能:打印请求URL
print("请求的完整URL:", r.request.url)
# 5. 检查请求是否成功(图片里的raise_for_status())
r.raise_for_status()
# 6. 保留你的需求:打印响应状态码、文本前100字符
print("响应状态码:", r.status_code)
print("响应文本前100字符:\n", r.text[:100])
# 7. 保留图片里的功能:打印响应文本长度
print("响应文本总长度:", len(r.text))
except:
# 图片里的异常处理:捕获所有错误并提示
print("爬取失败")
|
实例四:网络图片的爬取#
找一张图片,复制其地址:
https://img0.dili360.com/pic/2025/12/31/6954ebc48ed745o09300347.jpg
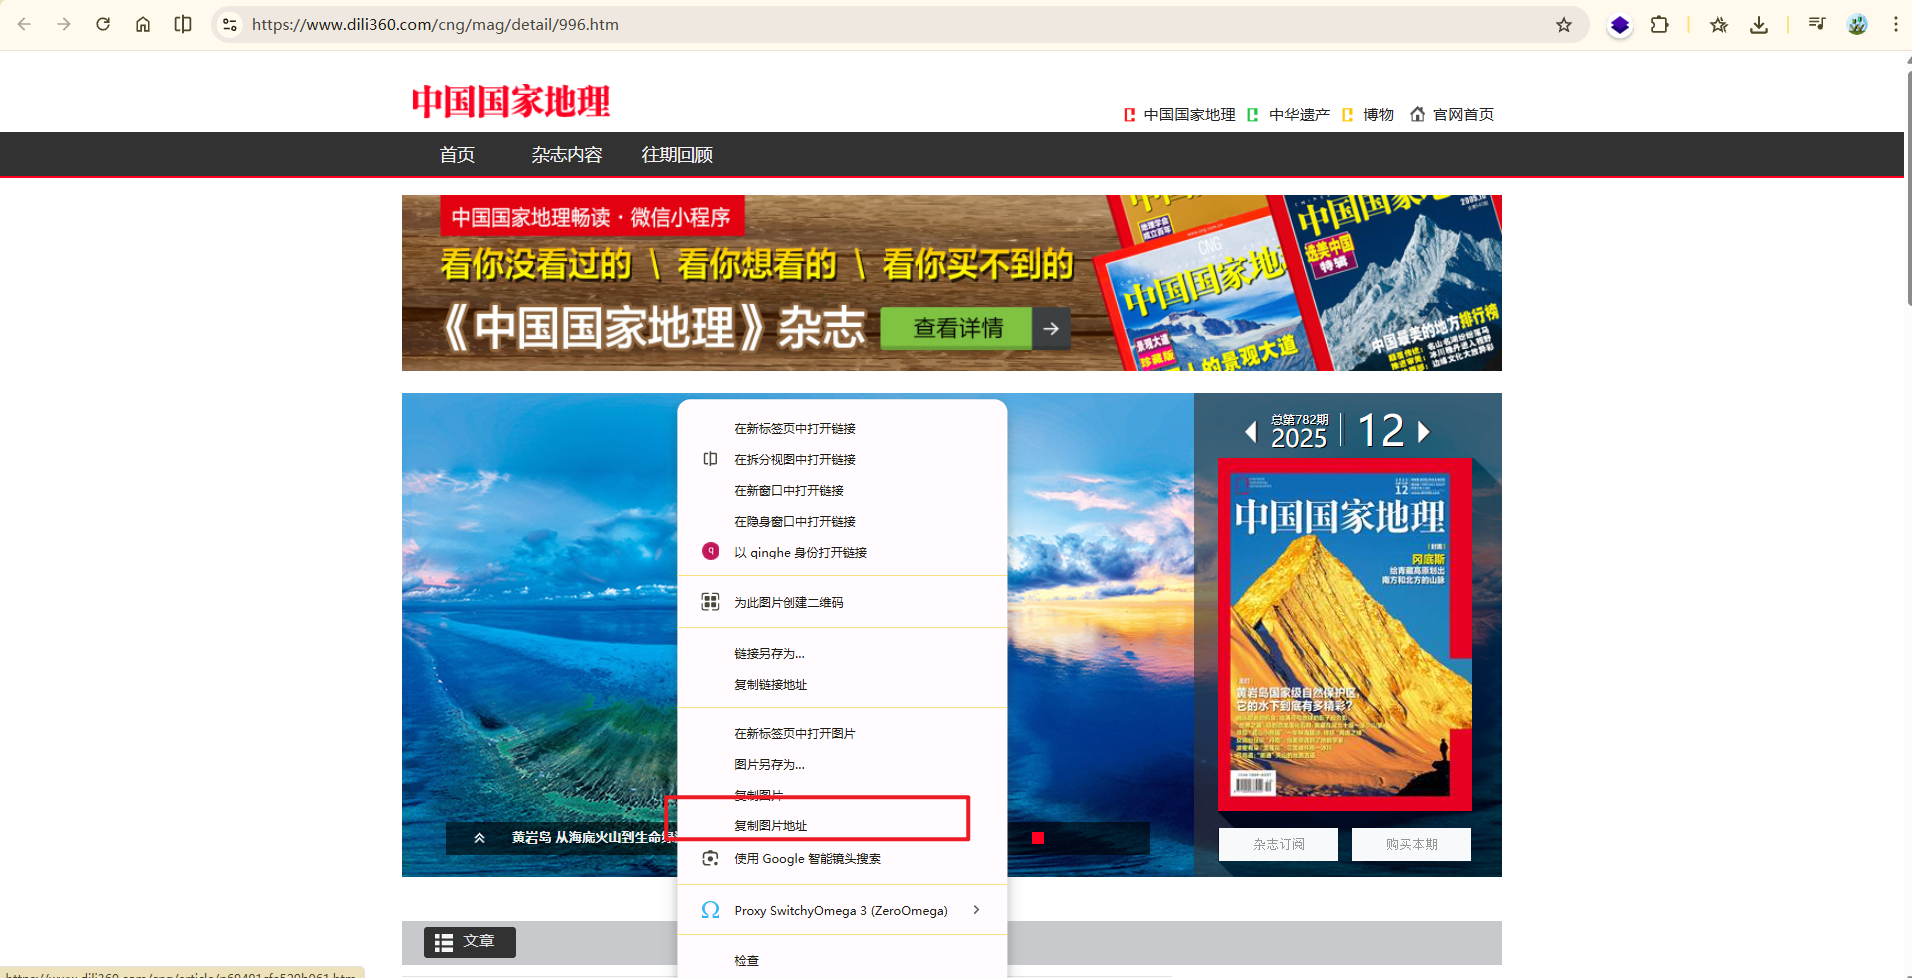
显然,我们并不能直接去爬取
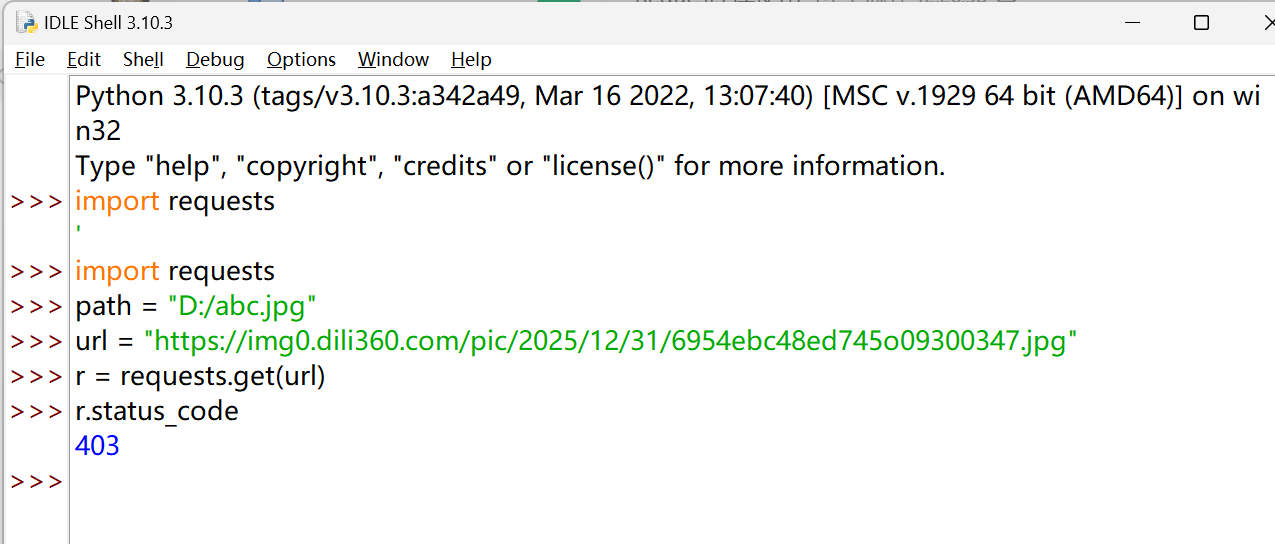
还是通过添加 headers 请求头,解决 403 问题
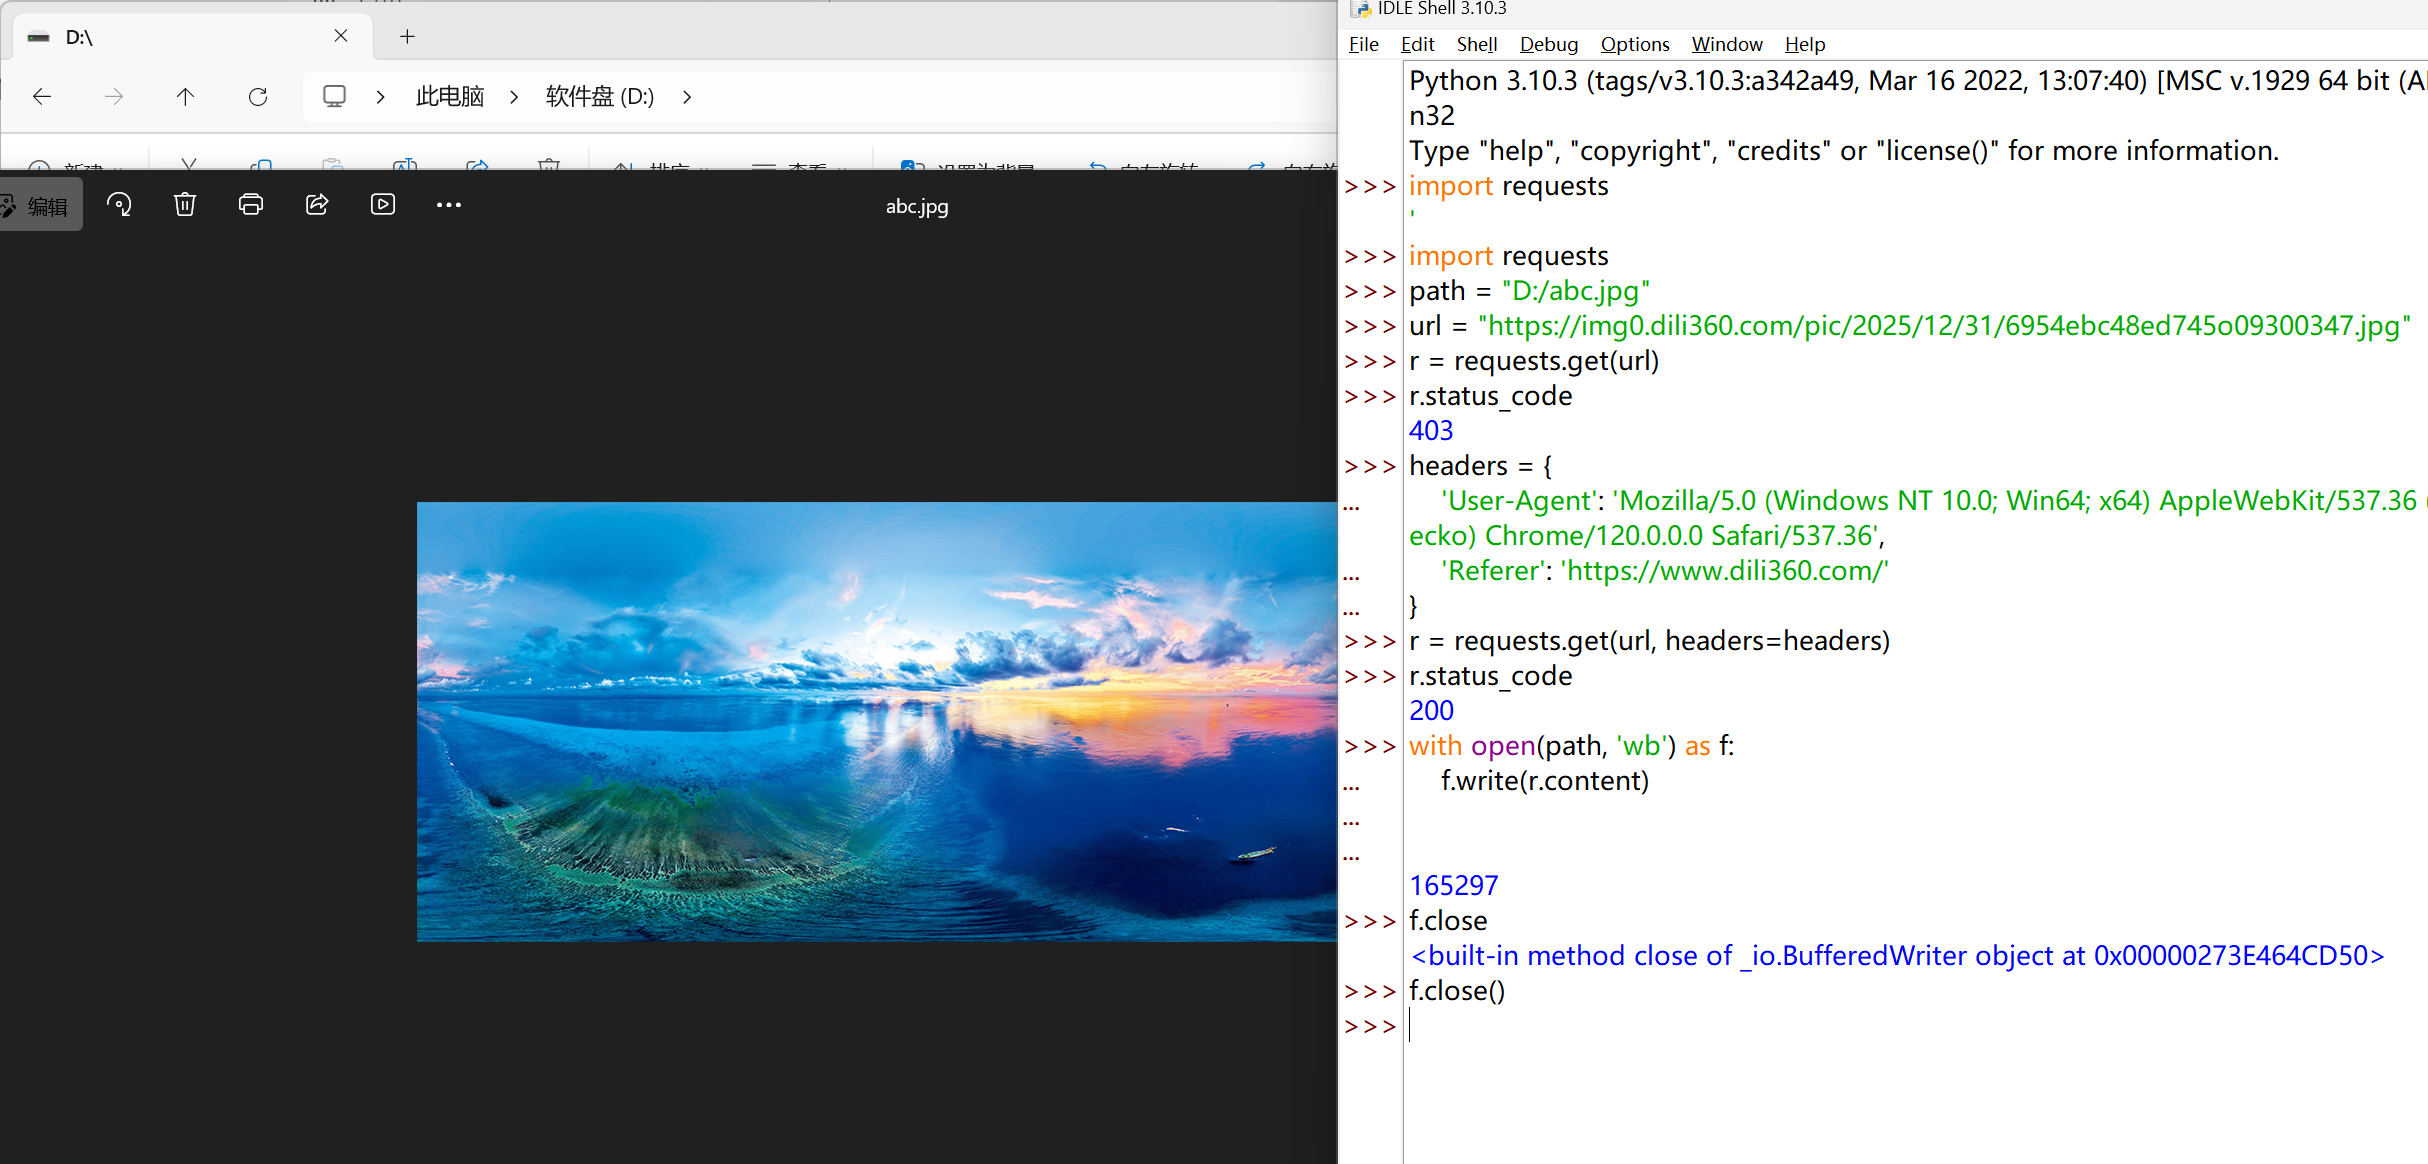
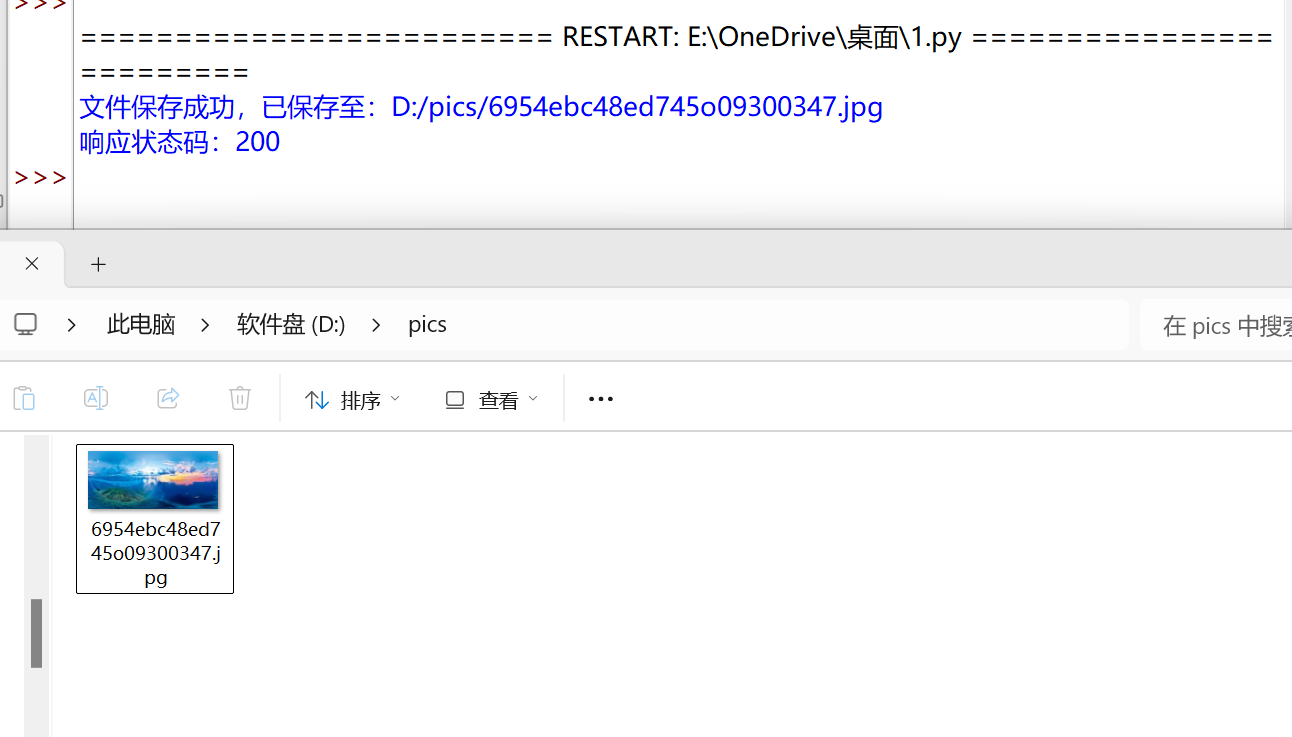
全代码:
 1
 2
 3
 4
 5
 6
 7
 8
 9
10
11
12
13
14
15
16
17
18
19
20
21
22
23
24
25
26
27
28
29
30
31
32
33
34
35
36
37
38
39
40
41
42
43
| import requests
import os
# 图片目标 URL
url = "https://img0.dili360.com/pic/2025/12/31/6954ebc48ed745o09300347.jpg"
# 图片保存路径(自动提取文件名、创建文件夹)
root = "D:/pics/"
path = root + url.split('/')[-1]
# 定义请求头,解决 403 防盗链问题
headers = {
'User-Agent': 'Mozilla/5.0 (Windows NT 10.0; Win64; x64) AppleWebKit/537.36 (KHTML, like Gecko) Chrome/120.0.0.0 Safari/537.36',
'Referer': 'https://www.dili360.com/'
}
try:
# 1. 判断文件夹是否存在,不存在则创建
if not os.path.exists(root):
os.mkdir(root)
print(f"文件夹不存在,已创建:{root}")
# 2. 判断文件是否存在,不存在则下载保存
if not os.path.exists(path):
# 3. 发送 GET 请求,携带 headers 伪装浏览器(补充遗漏的 headers)
r = requests.get(url, headers=headers)
# 4. 校验请求是否成功(非 200 状态码直接抛出异常)
r.raise_for_status()
# 5. 二进制写入保存图片(移除冗余的 f.close())
with open(path, 'wb') as f:
f.write(r.content)
print(f"文件保存成功,已保存至:{path}")
print(f"响应状态码:{r.status_code}")
else:
# 6. 文件已存在时的提示
print(f"文件已存在,无需重复下载:{path}")
except Exception as e:
# 7. 捕获所有错误并给出详细提示
print(f"爬取/保存失败,错误信息:{str(e)}")
|
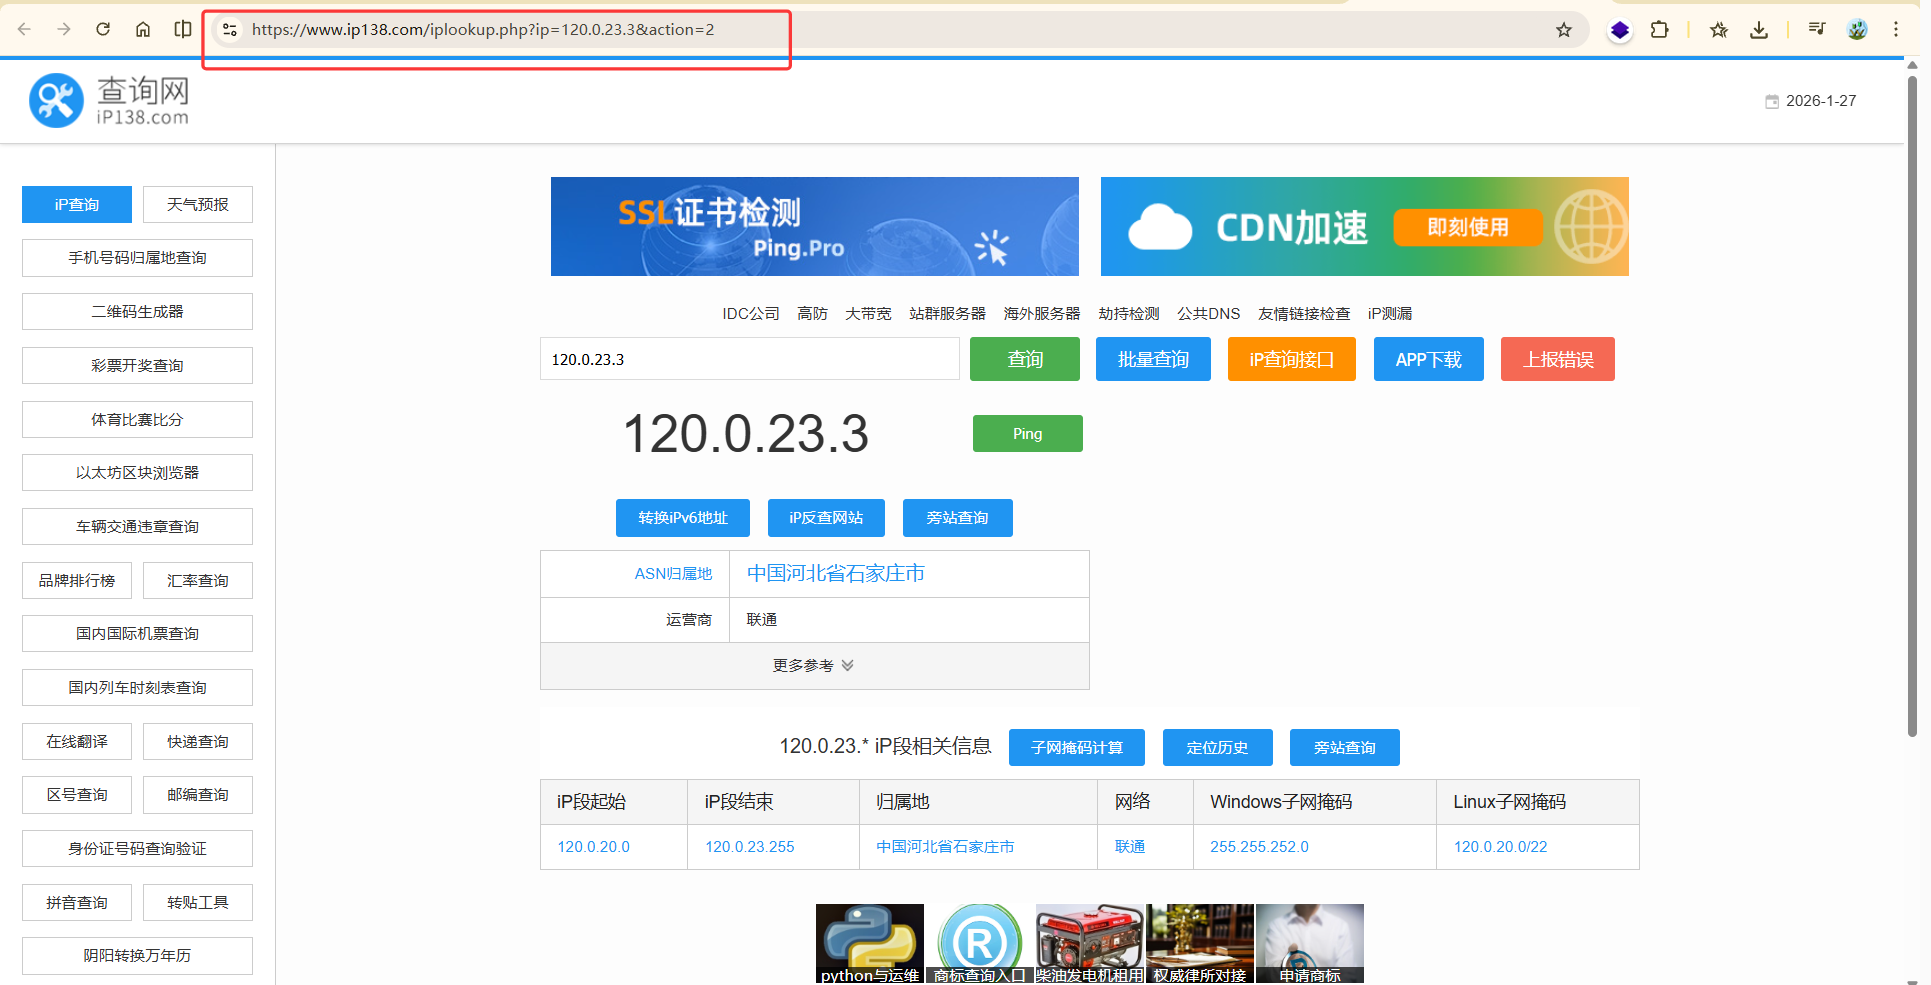
实例五:IP 地址归属地的自动查询#
https://www.ip138.com/iplookup.php?ip=120.0.23.3&action=2
 1
 2
 3
 4
 5
 6
 7
 8
 9
10
11
12
13
14
15
16
17
18
19
20
21
22
23
24
25
26
27
28
29
30
31
32
33
34
35
36
| import requests
# 第三方 IP 查询接口(稳定有效,无严格反爬)
base_url = "http://ip-api.com/json/"
target_ip = "202.204.80.112"
# 拼接 URL(该接口支持直接在 URL 后拼接 IP)
url = base_url + target_ip
# 可选:添加请求头,提升真实性
headers = {
'User-Agent': 'Mozilla/5.0 (Windows NT 10.0; Win64; x64) AppleWebKit/537.36 (KHTML, like Gecko) Chrome/120.0.0.0 Safari/537.36'
}
try:
r = requests.get(url, headers=headers, timeout=10)
r.raise_for_status()
r.encoding = 'utf-8'
# 解析 JSON 数据(该接口返回标准 JSON,无解析报错)
ip_result = r.json()
# 打印完整结果和核心信息
print("请求成功,响应状态码:", r.status_code)
print("=====================================")
print("完整 JSON 查询结果:\n", ip_result)
print("=====================================")
print("核心查询信息:")
print(f" IP 地址:{ip_result.get('query', '未知')}")
print(f" 国家:{ip_result.get('country', '未知')}")
print(f" 地区:{ip_result.get('regionName', '未知')}")
print(f" 城市:{ip_result.get('city', '未知')}")
print(f" 运营商:{ip_result.get('isp', '未知')}")
except Exception as e:
print("请求失败,错误信息:", str(e))
|